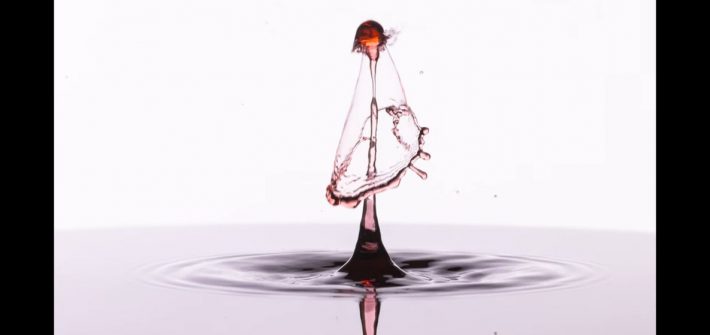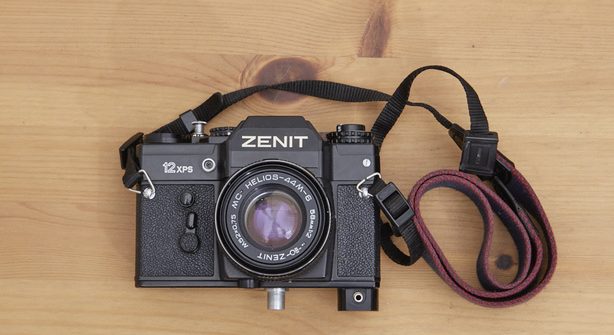

Look at your gear right now. How much of it did you need and how much of it did you want? Knowing the difference between the two can save you thousands and make you a more sophisticated photographer who focuses on art.


![]()
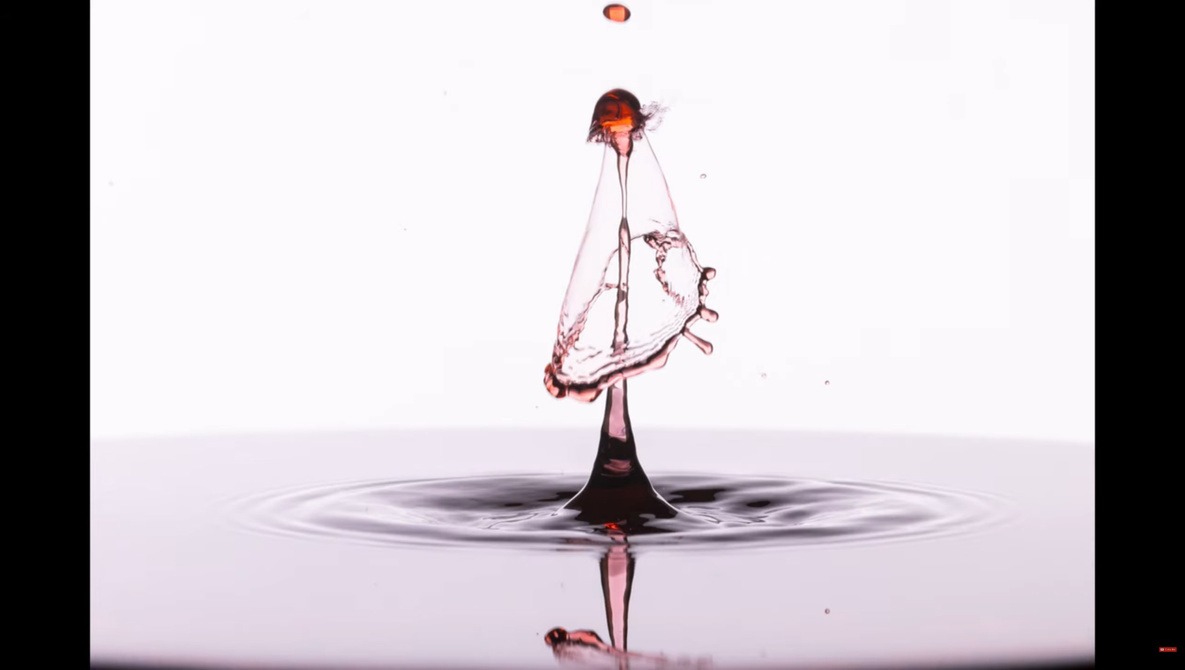
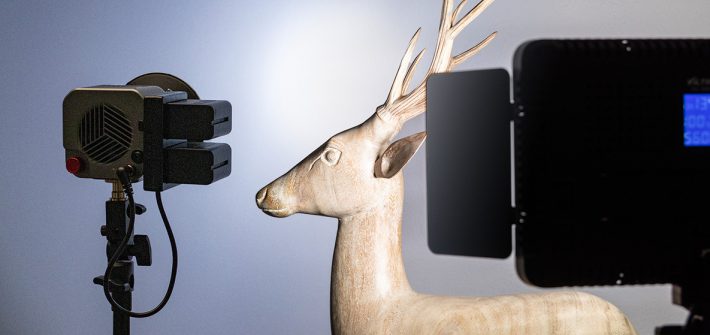
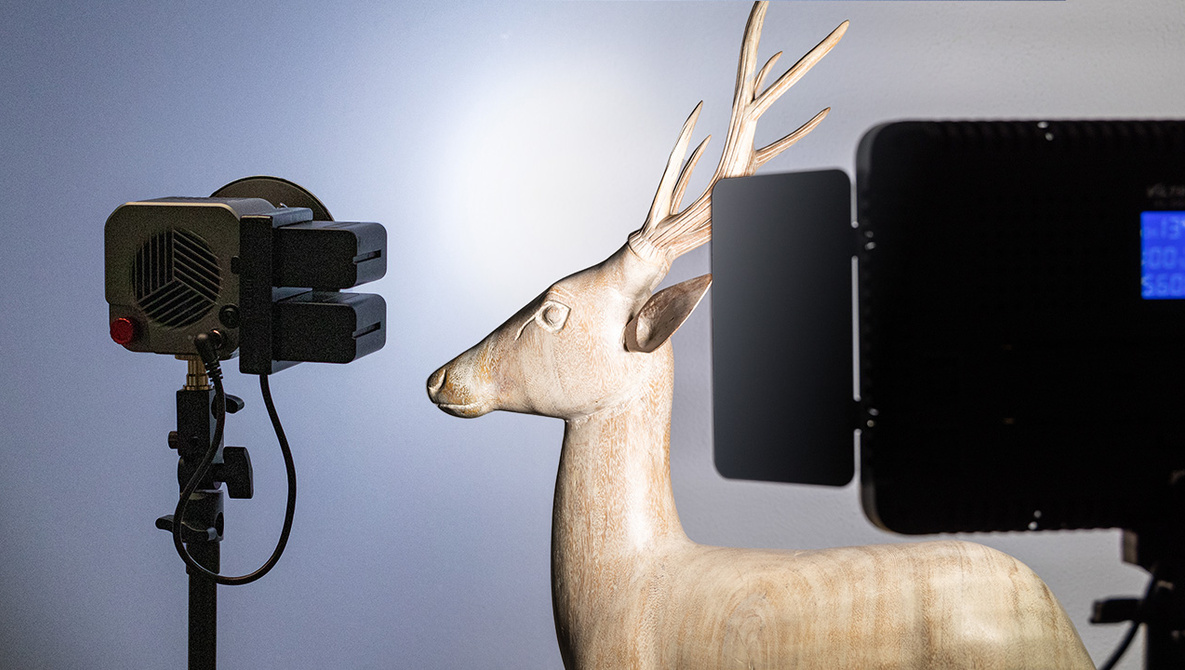
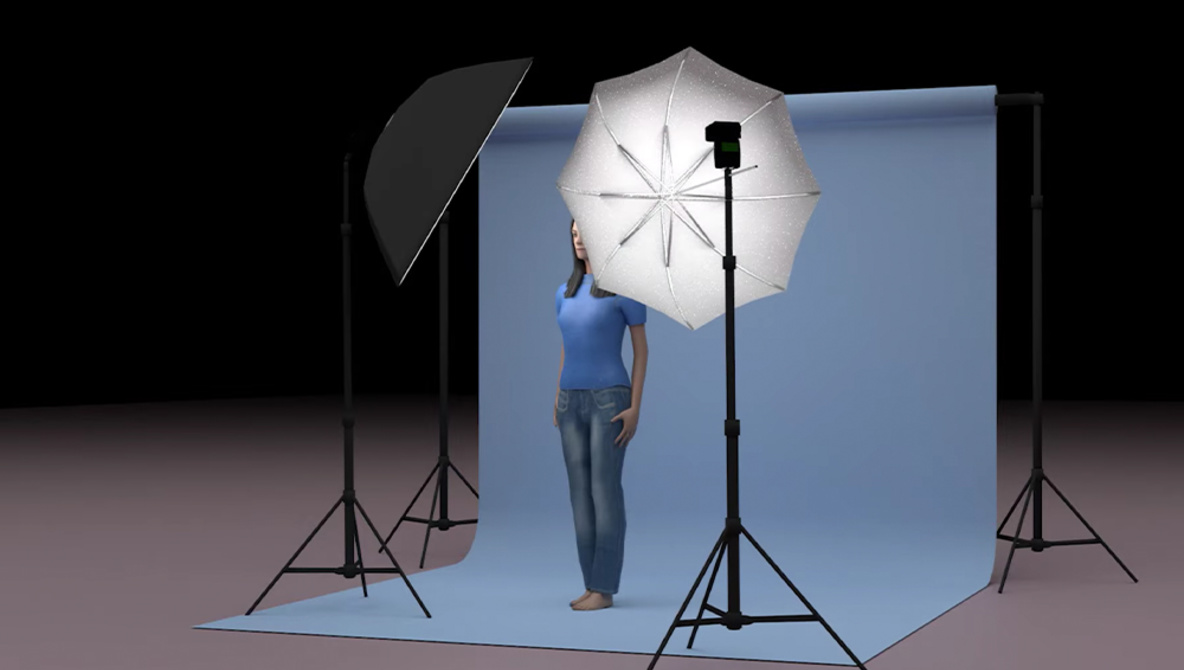
Lighting dictates an enormous amount about your final image, from mood and feel, to exposure and color. However, whether the light is hard or soft can also make a significant difference, and knowing when to use each is crucial. In this video, learn different lighting setups for each and the benefits of them.


![]()
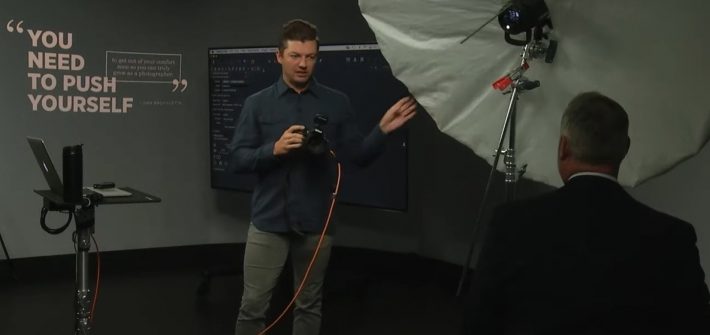
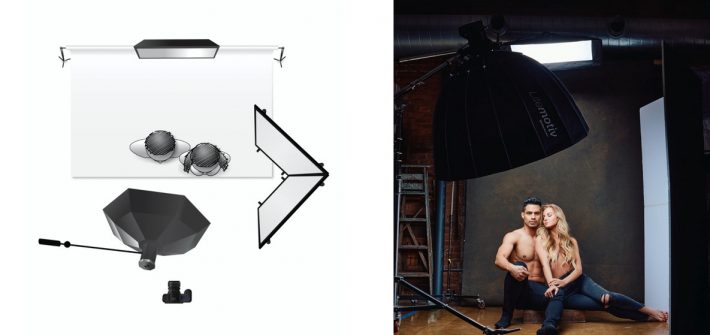
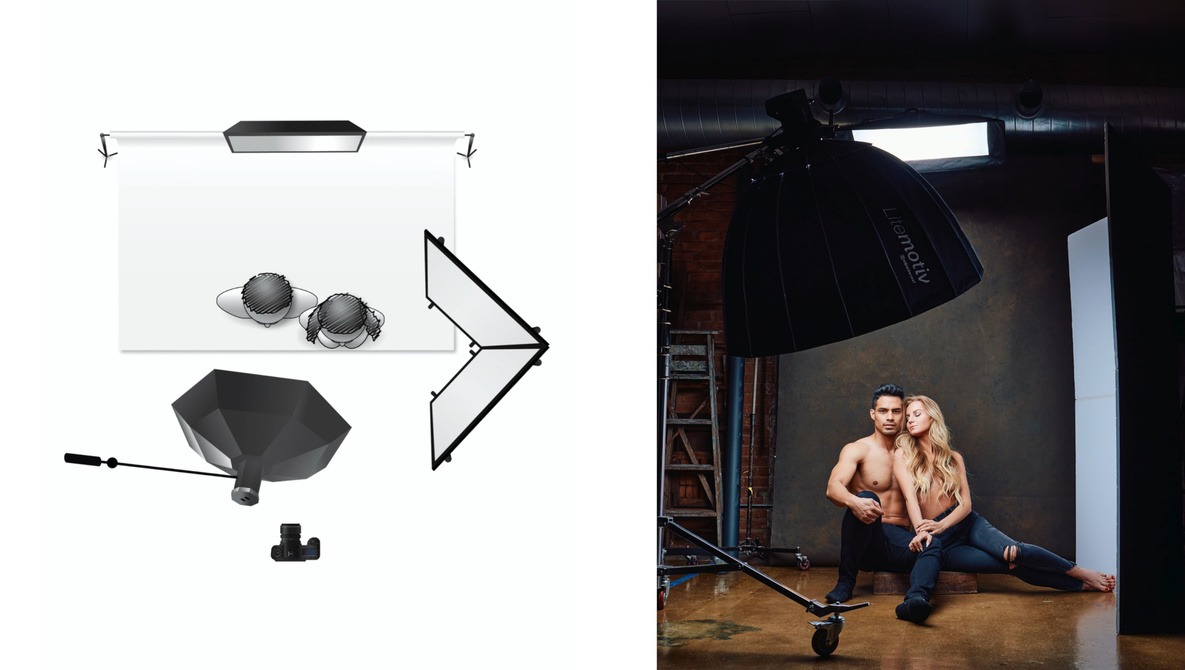
Creating dramatic headshots using multiple lights doesn’t have to be difficult. One of the best ways to become proficient at using a three-light setup is by building it one light at a time. In this article and the accompanying video, I will demonstrate how you can easily create dramatic headshots and portraits using a key light, kicker light, and fill light.


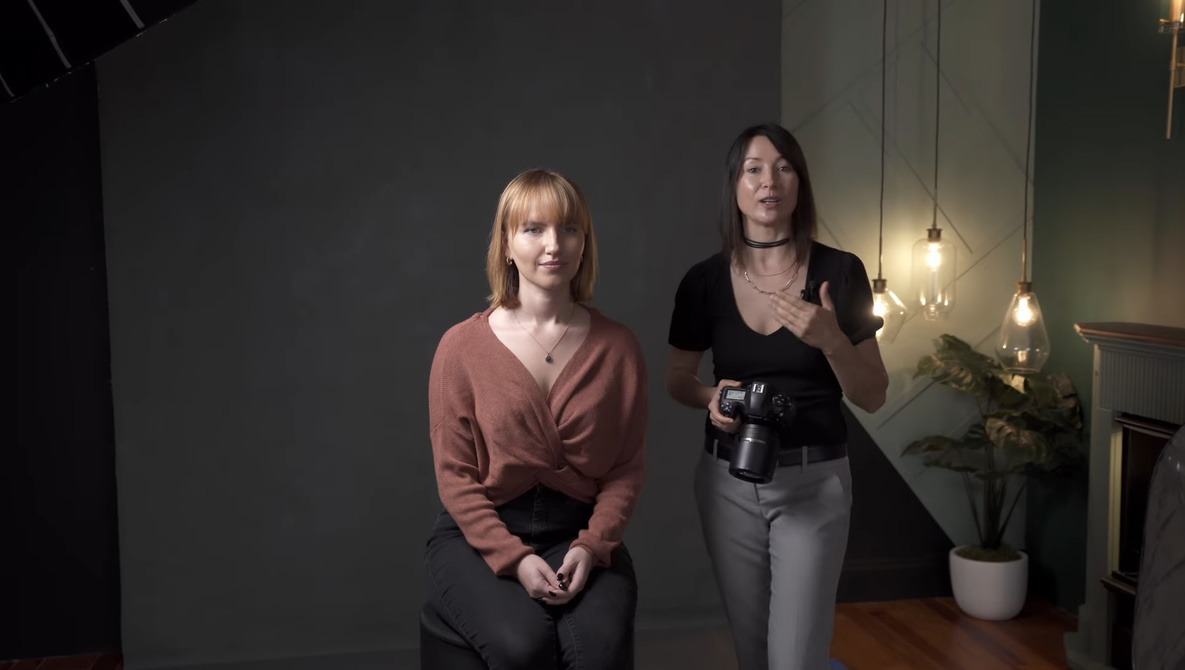
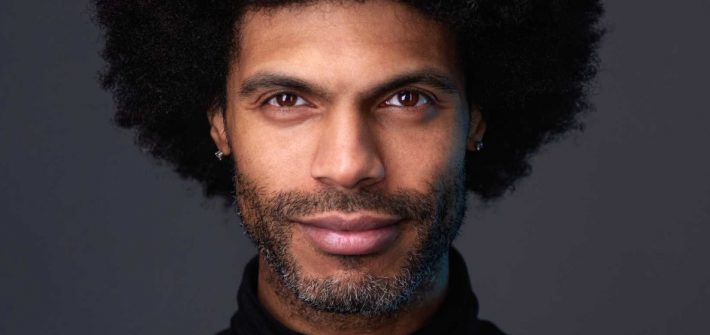
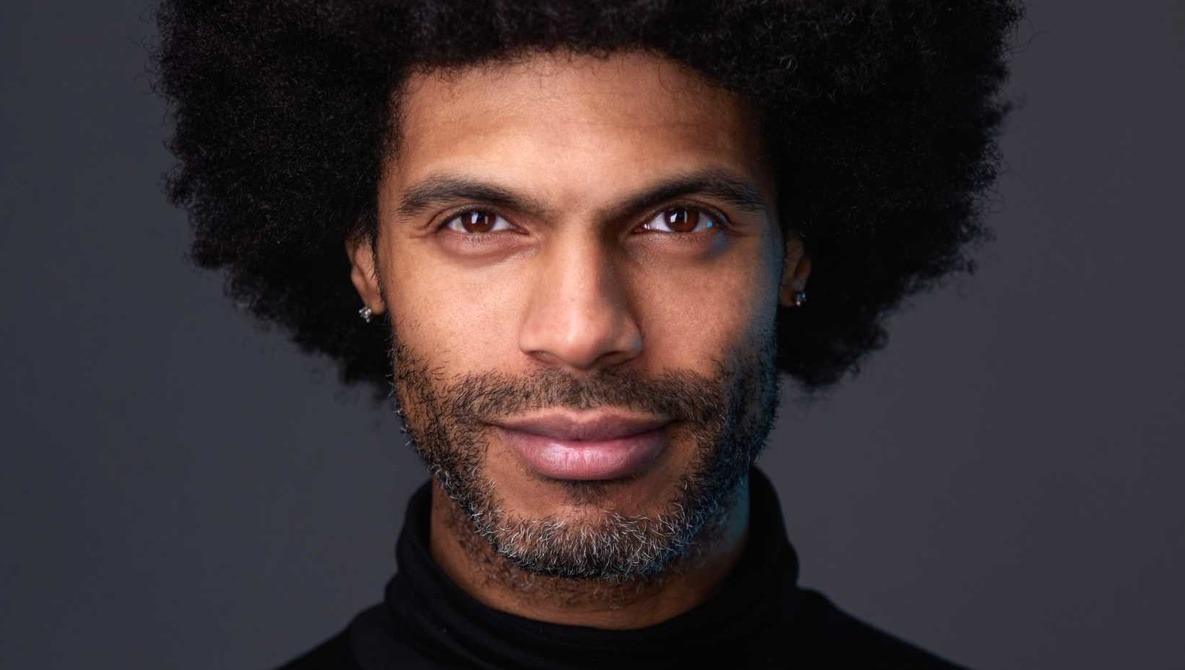
You can absolutely create professional-level portraits using nothing but a single key light, but once you move into multi-light setups, you get a bit more creative and technical control over the final image. One of the first ways to do this is by adding a fill light, and this excellent video tutorial will show you what it is and how it can be used to create better portraits.


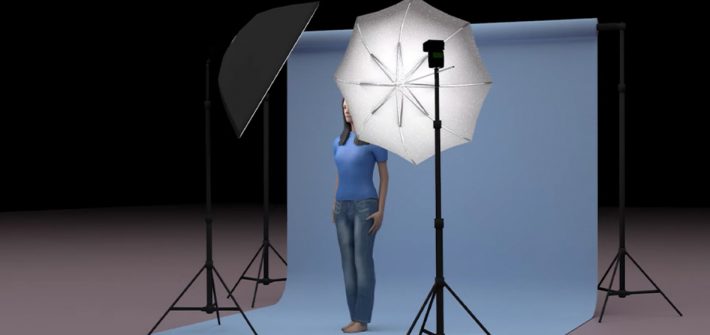
Tutorials on using a 1-light setup for portrait photography are commonplace, and rightly so. There are several ways that a single light source can be positioned to create flattering lighting on a subject. You might think that switching to a 2-light setup would be twice as complicated. This isn’t the case. There are several 2-light arrangements that are easy to understand and quick to set up. Using 2 lights can make it easy for you to transition between a clean headshot and a dramatic portrait.