Martin Palm is a commercial photographer based in Sweden. He strives to create clean minimalist images that offer a unique point of view.


![]()

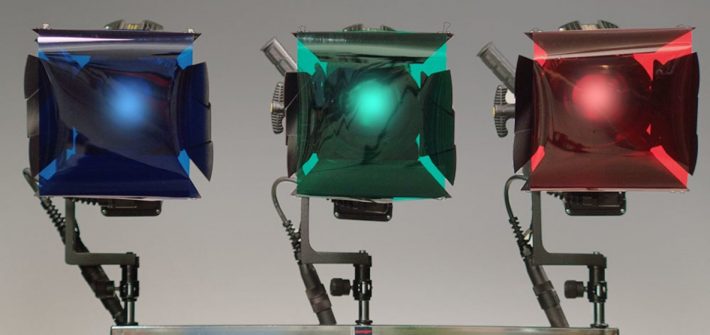
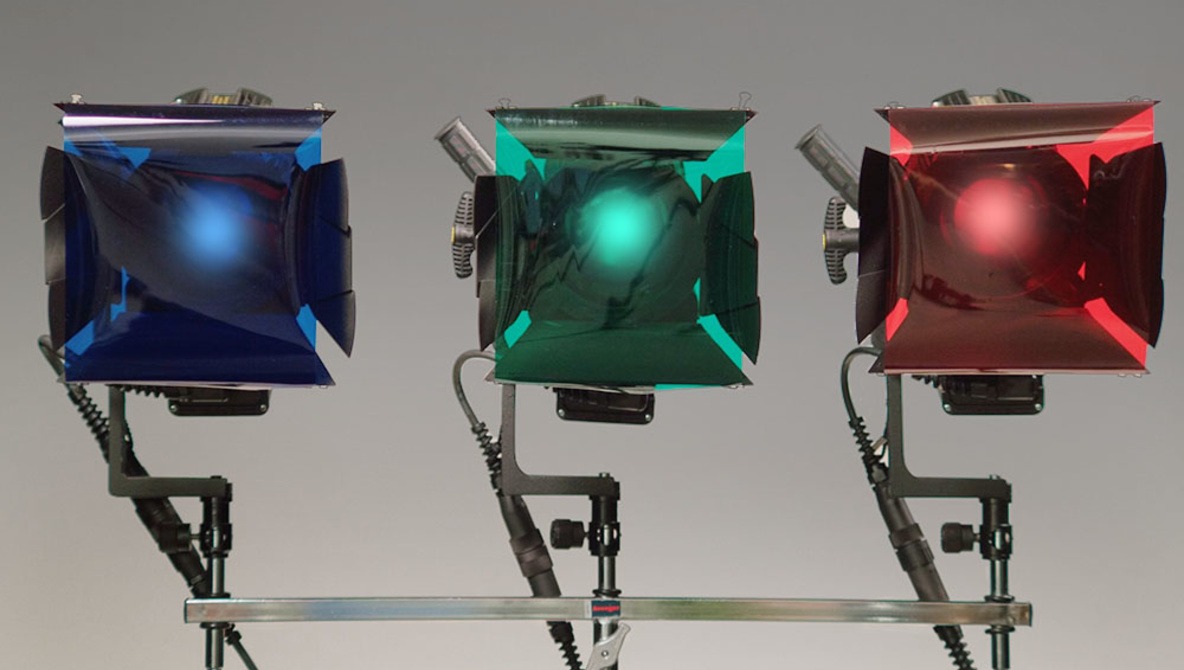
While you can absolutely create professional-level portraits with a single light, using multiple lights will allow you create more advanced and precise setups that simply are not possible with just one source. One of the most important secondary lights a portrait photographer can use is the kicker, and this great video tutorial will show you both what they are and how they are used to create more effective images.


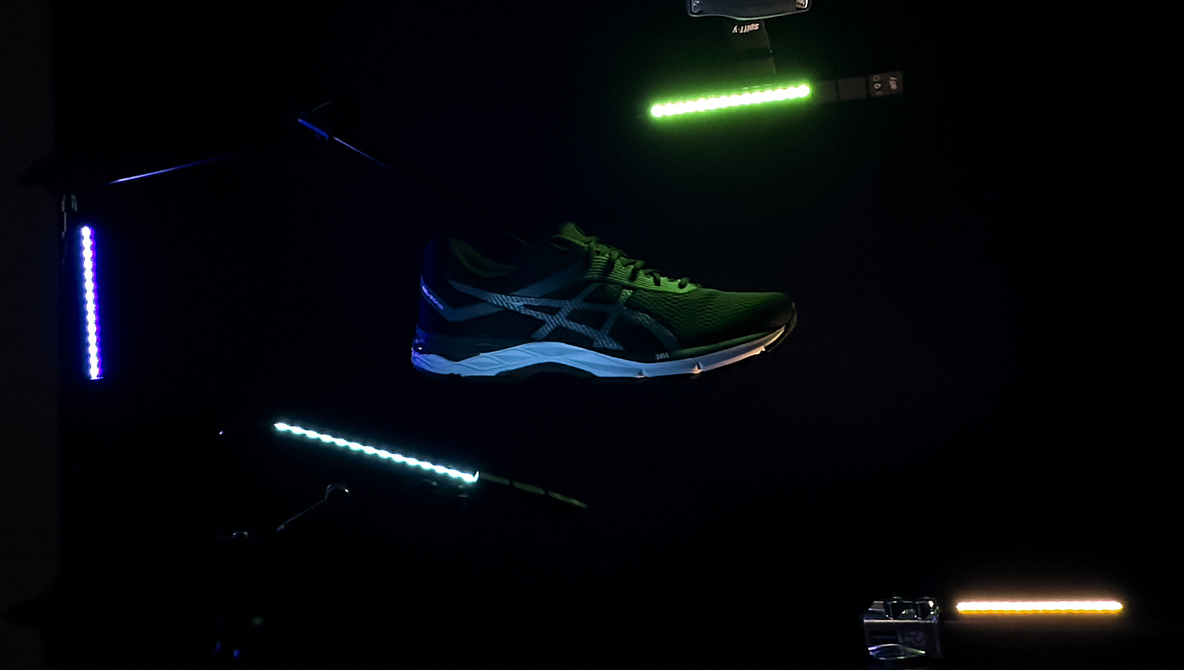
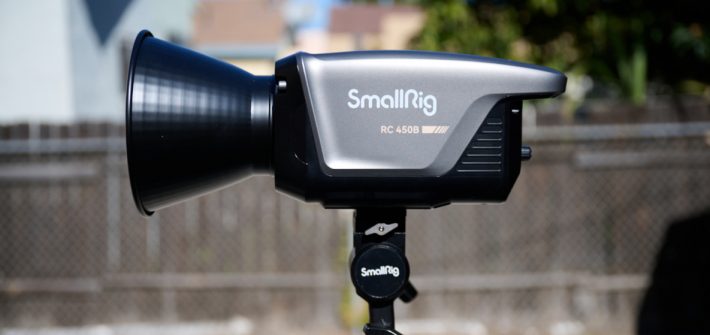
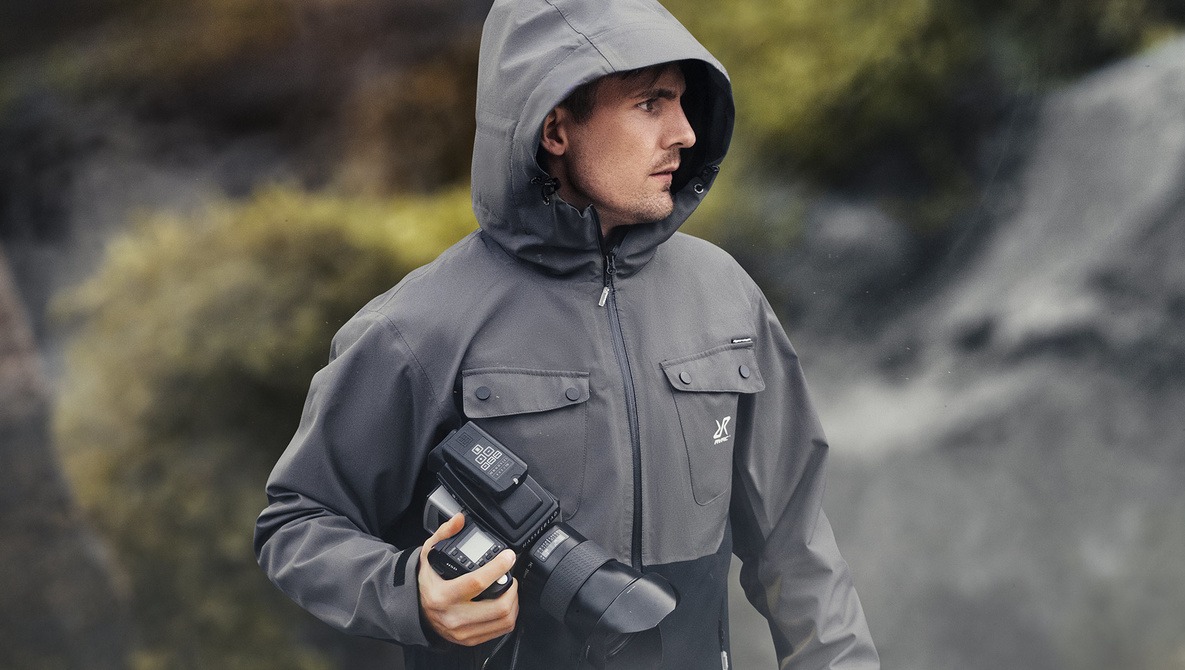
There are plenty of difficult lighting scenarios when conventional solutions simply can’t deliver. Be it weight, space, or any other limitation, small lights are a must in any photographer’s kit. Despite not being the most powerful, they are often most used on sets and locations. Among the sea of small lights, a few stand out. One such one is the Specular KYU-6. Here are my thoughts on this light.

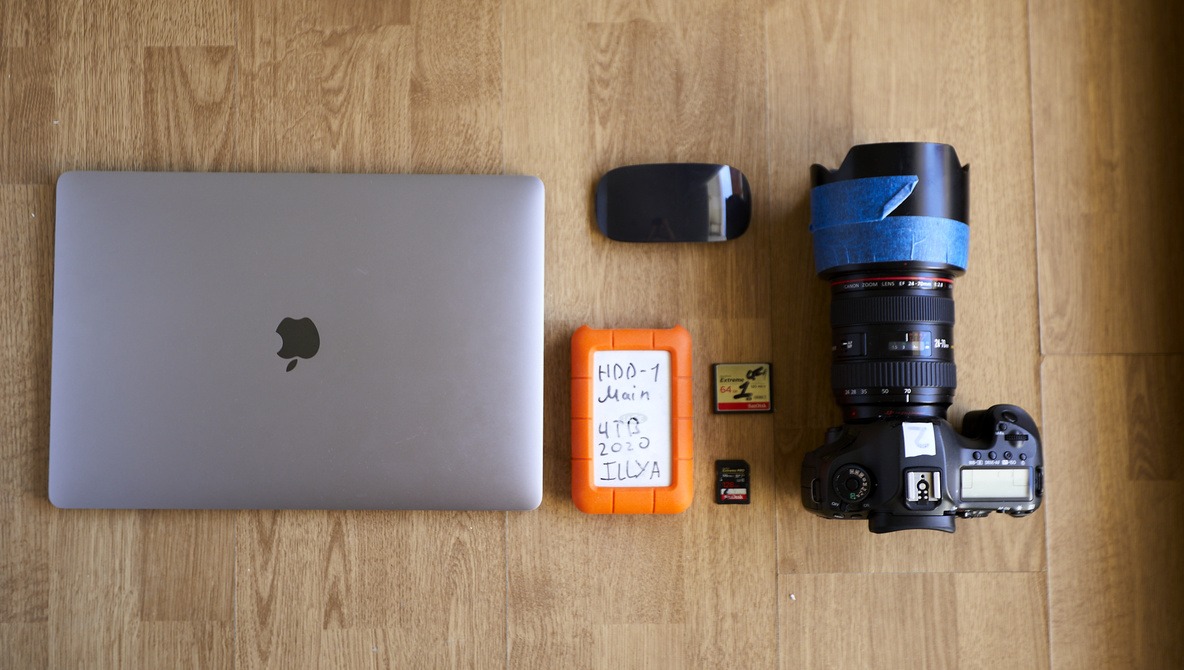
In an industry where every day seemingly brings the announcement of a new camera system promising to up your photography game while simultaneously depleting your bank account, it can be hard to know what is really worth the investment. So today, I’ll have a quick look at three areas where I’ve found you almost always get an appropriate level of bang for your buck.


![]()
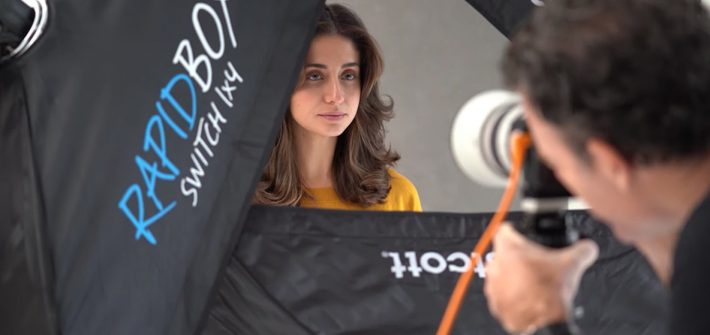
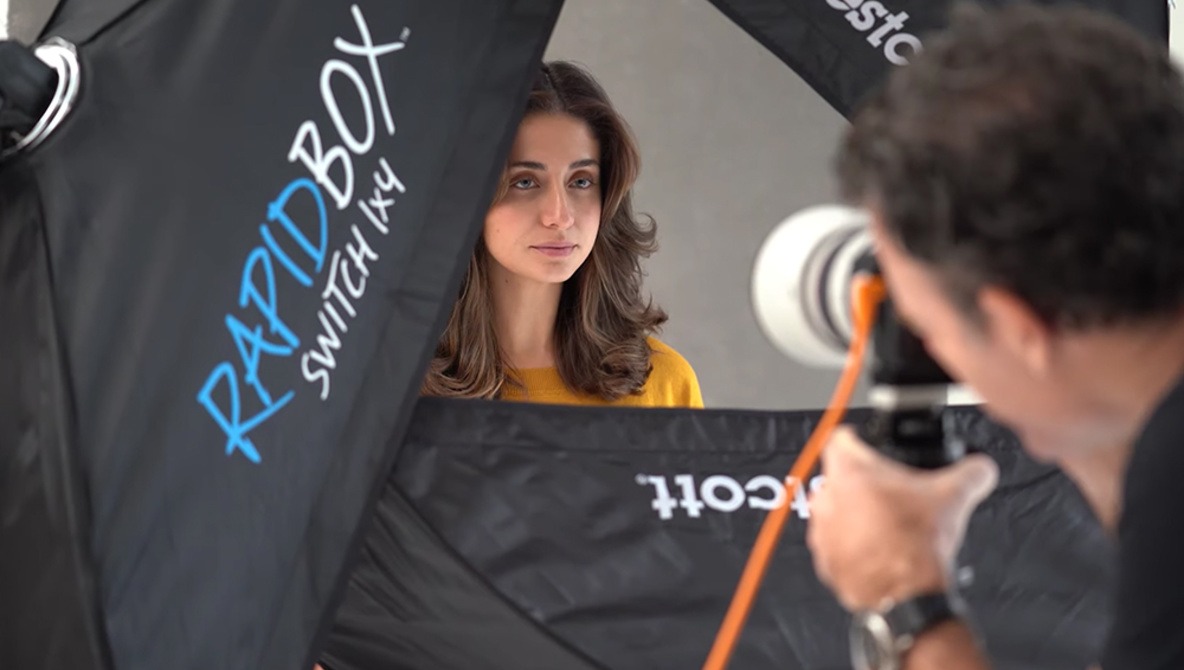
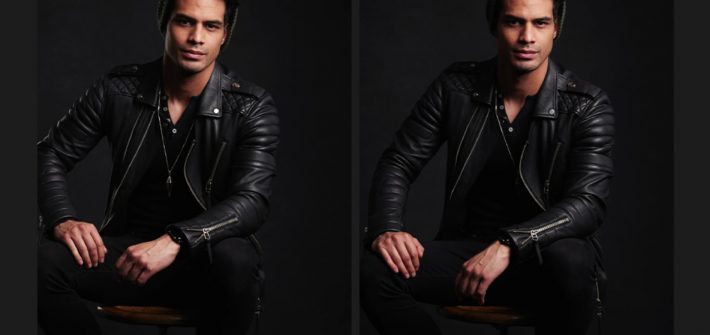
You have probably seen professional headshot photographers using powerful (and expensive) studio lights, and while there are certainly benefits to those, that does not mean you can’t use things like speedlights to create compelling images. In this excellent video tutorial, well-known photographer Peter Hurley will show you how you can light a headshot even using only speedlights.


![]()

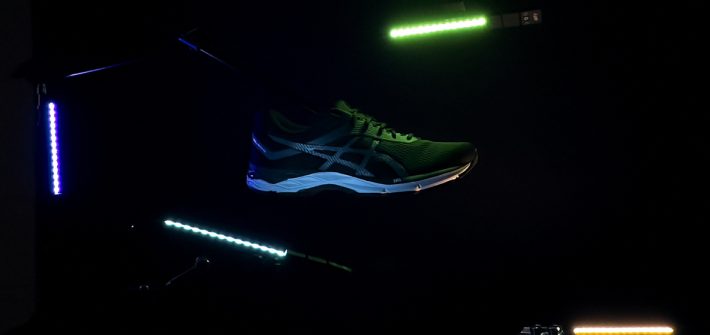
Photography is undoubtedly the art with the lowest entry point. You can just pick up your phone and snap away. With billions of images created every day, they sometimes follow trends. Many beginner photographers start following pages on Instagram that “repost bangers.” However, those bangers are very far from what photography is about. In this article, I will talk about some of the worst photography trends that have become memes.


![]()