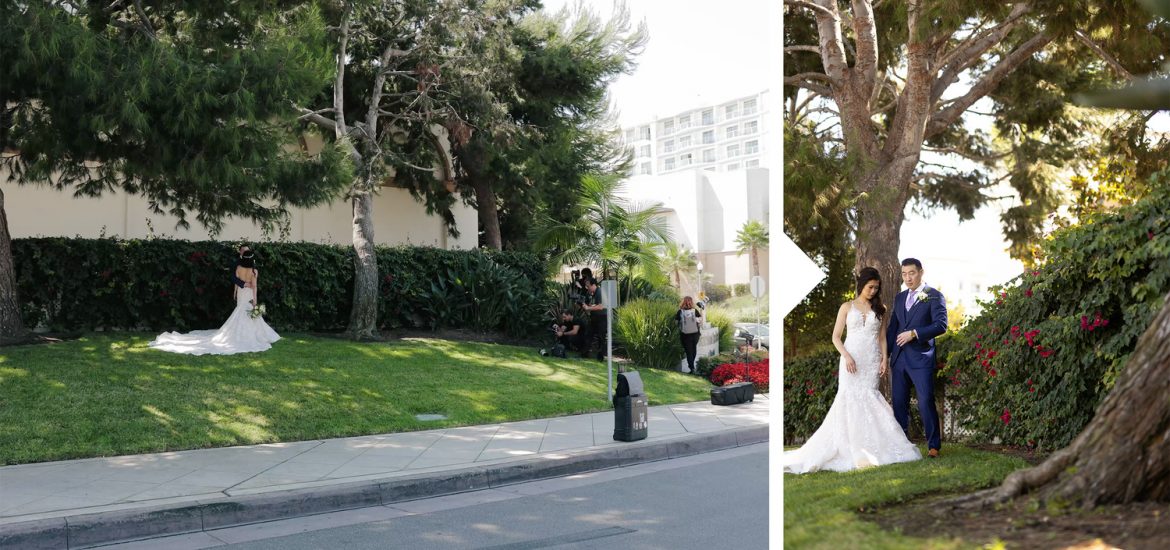
All it takes is this simple composition tip to take your portraits to a new level. In this video and article, I’ll be demonstrating this tip and how you can use it in post-production to completely transform your photographs.
Before we begin, be sure to download the exercise file here and follow along as I edit.
What Is the Tip?
The tip is quite simple. Look for the brightest part of your image and place your subjects there. I have two reasons for doing this. First, your eyes are naturally drawn to bright areas. Second, it opens up the ability to edit your lighting in post-production while still looking natural. Let’s begin with applying this technique in camera.
The Technique in Camera
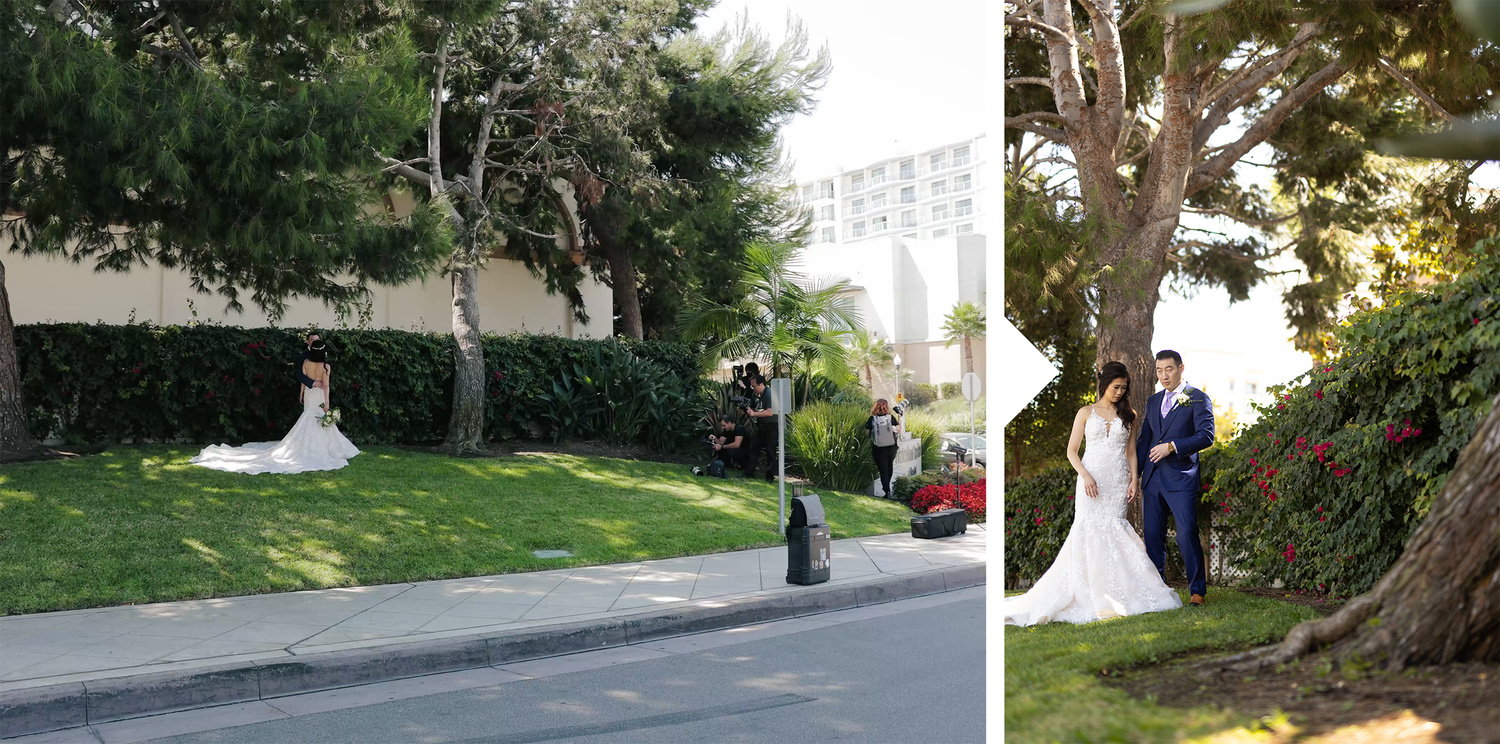
I began with a test shot of my couple underneath the trees in this beautiful scene. Upon taking the image, the first thing I noticed was the open sky right in the middle of the frame.
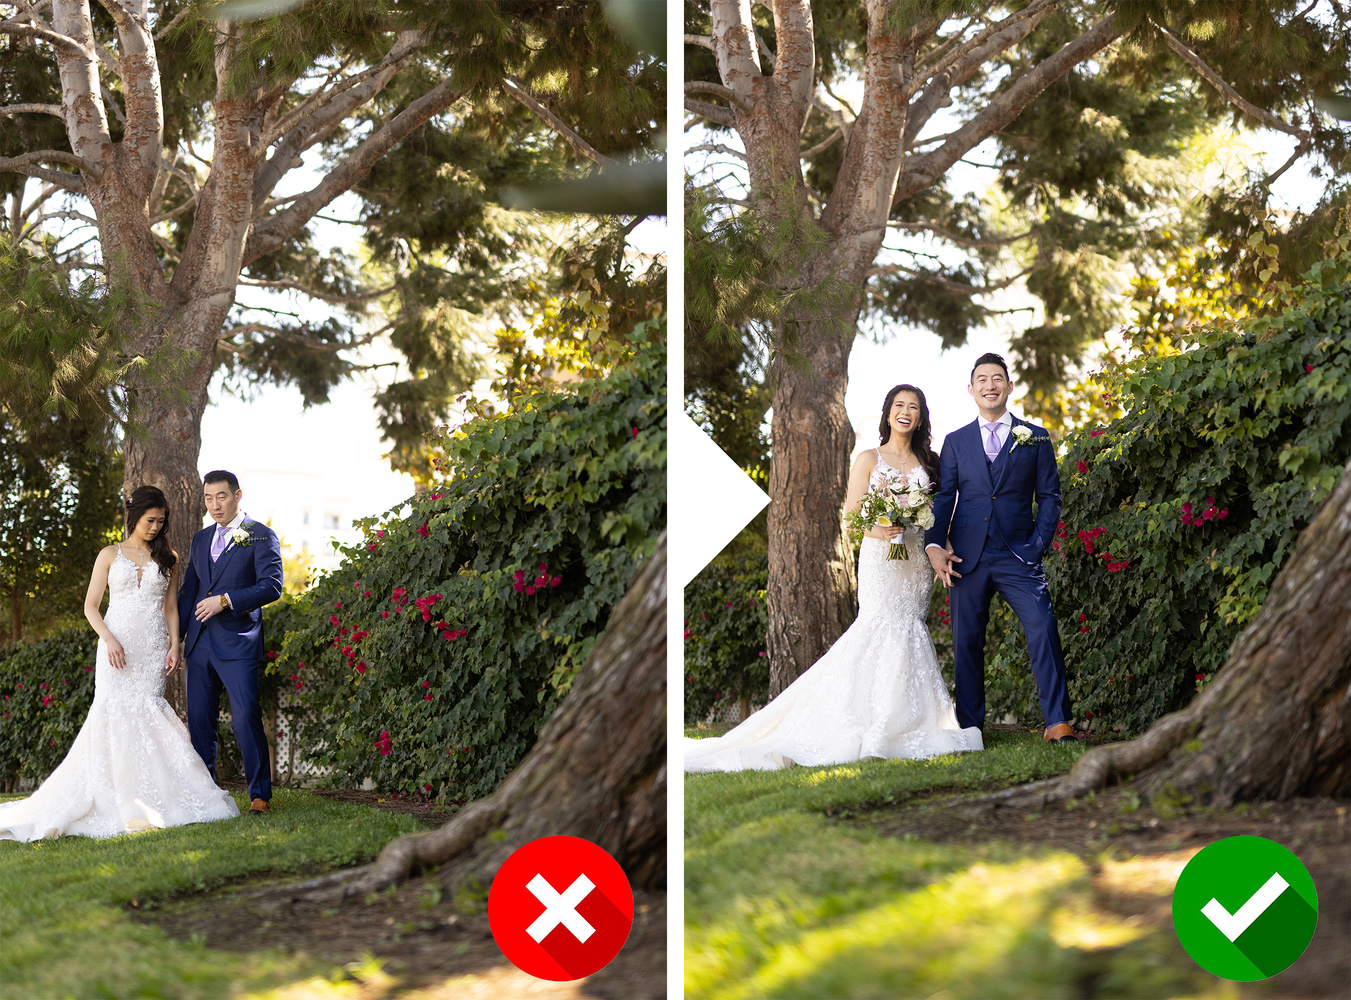
Our eyes are naturally drawn to the brightest spot in an image, and it can be a major distraction if our subjects are placed away from it. Our goal is to bring the attention to the couple, so instead, I placed them right over that patch of open sky. Notice in the second image, our attention is drawn right to the couple.
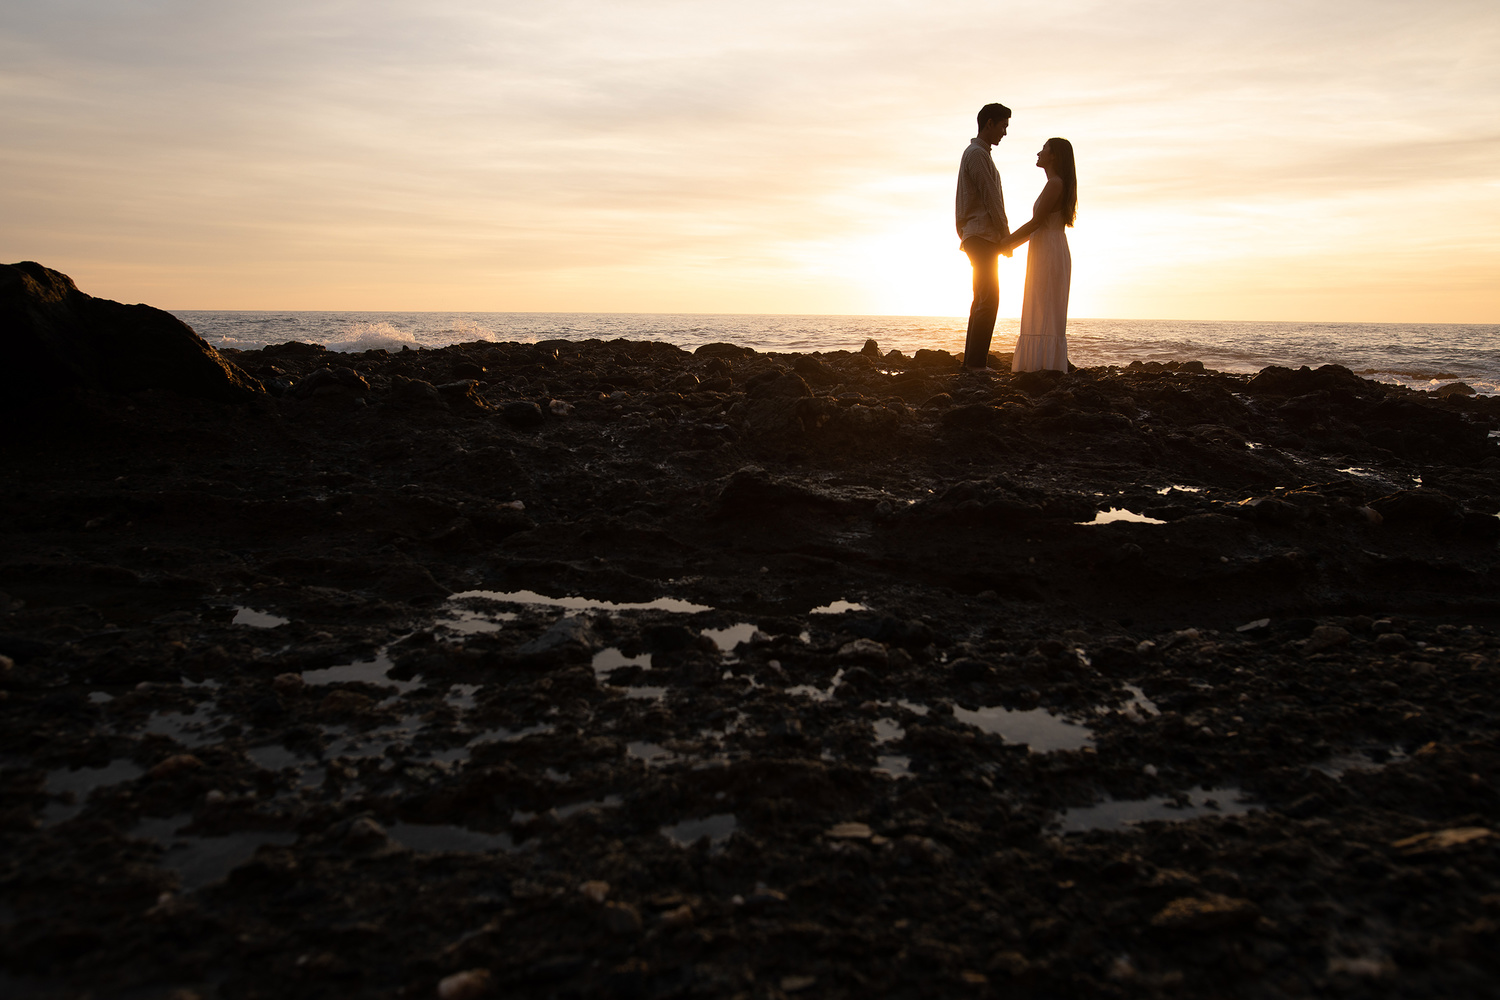
In this next example of this technique, I simply placed my couple right in front of the sun. The natural vignetting around the rest of the scene and the simplicity of the background draws the attention right to them.
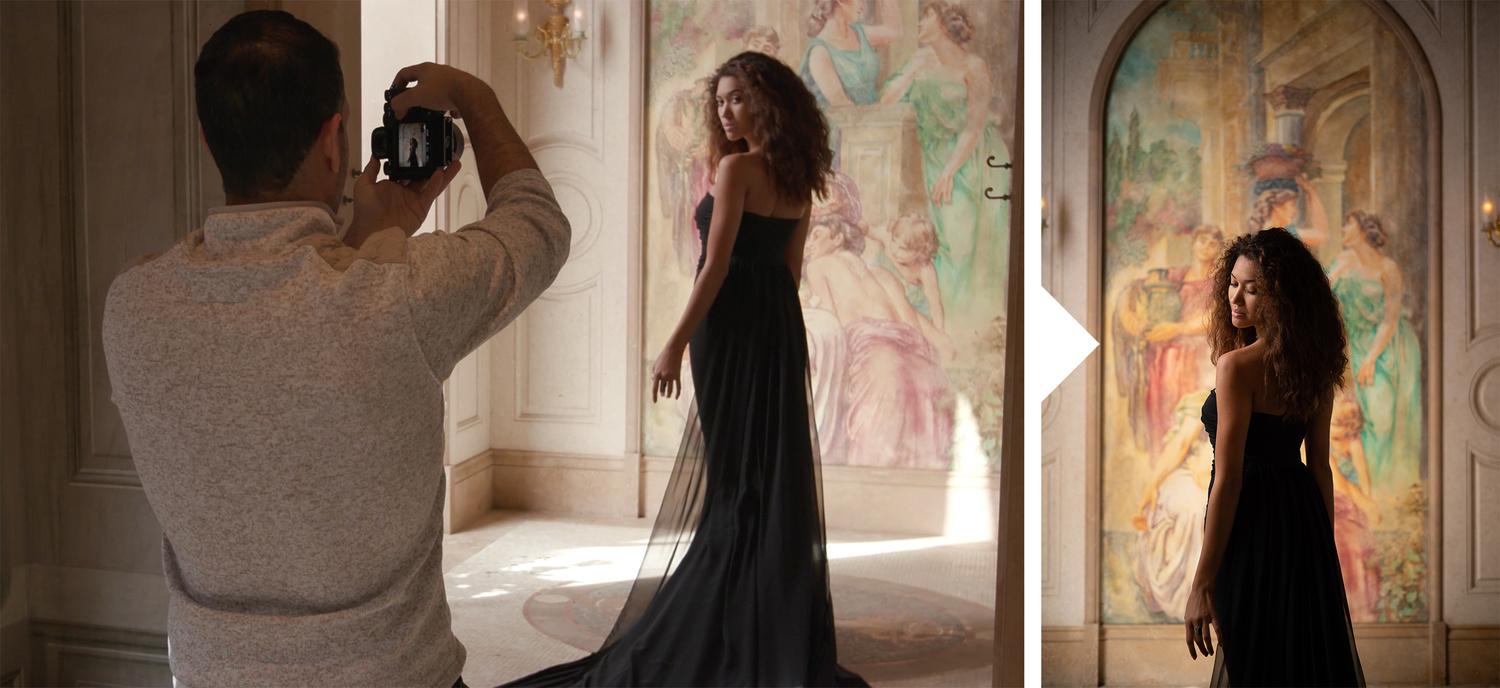
Here, my model is standing next to a large open doorway where a ton of natural light is pouring in. My assistant diffused the light with a large scrim, and the bright, soft light made the model pop from the darker background.
Emphasizing the Effect in Post
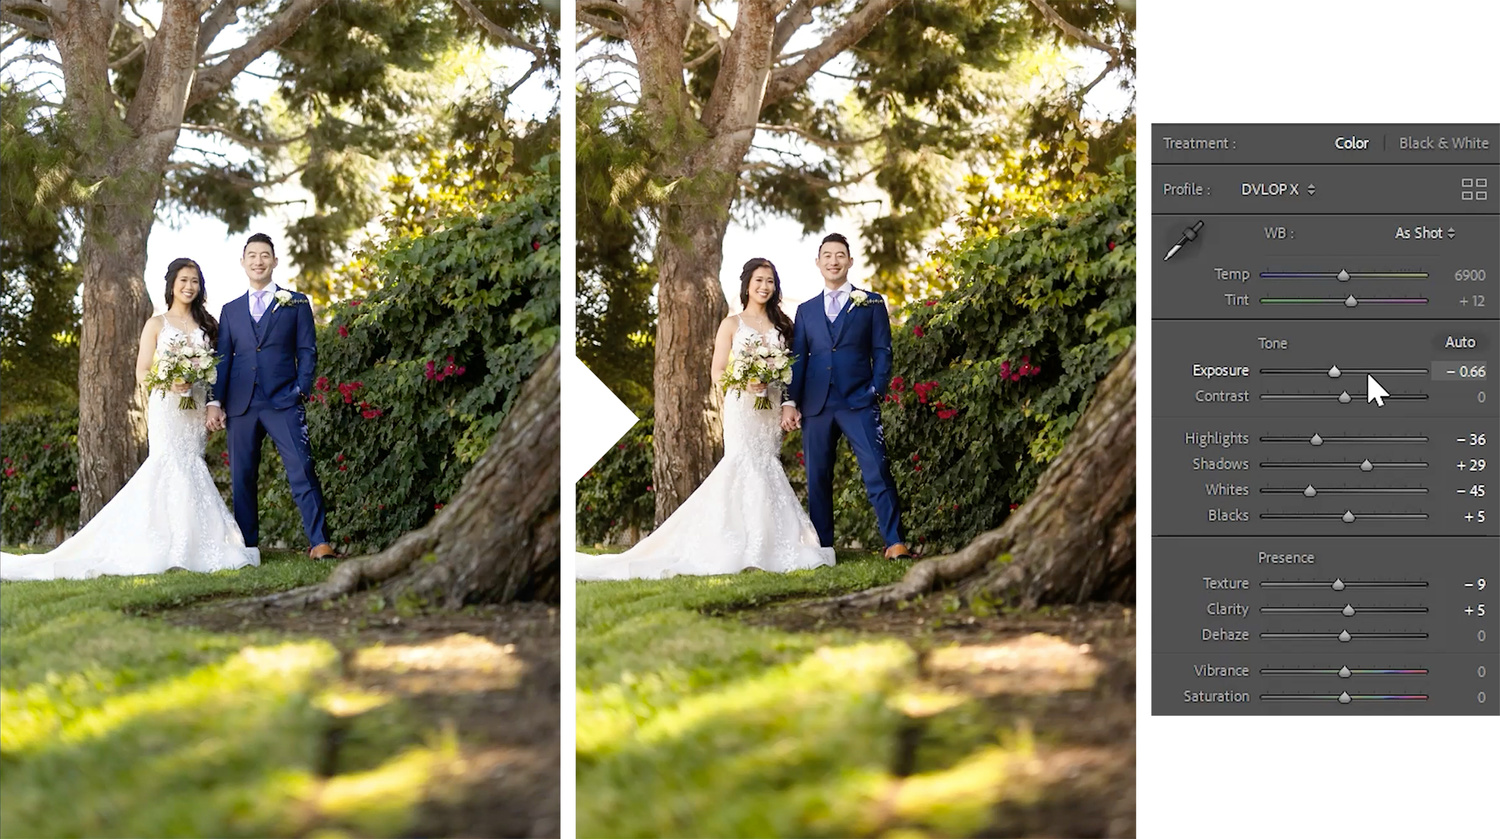
Here, you’ll see just how powerful this simple tip can be. I began by applying the Modern > Soft Light preset from VF Presets.
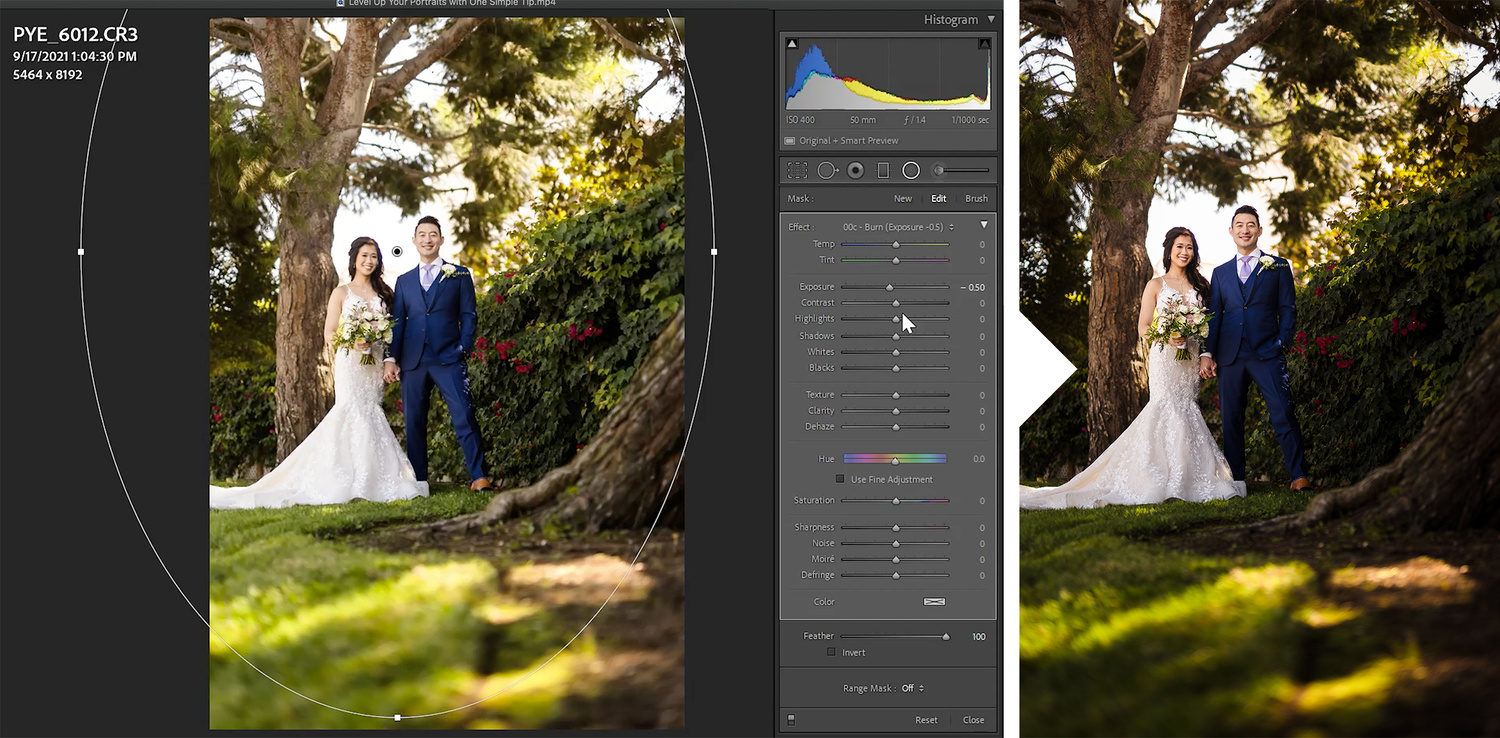
Then, I simply added a radial filter to darken the image around the subject. This instantly pulls more focus to the couple. When we place our subjects in the brightest part of the frame, darkening the rest of the image essentially acts as a natural vignette. Notice that our adjustments look completely natural. It even creates an effect that our couple was lit by a soft-box rather than the natural daylight that we used.

The same principle goes for our couple at the beach. A simple radial burn emphasizes the natural vignette and pulls more attention right where we want it.
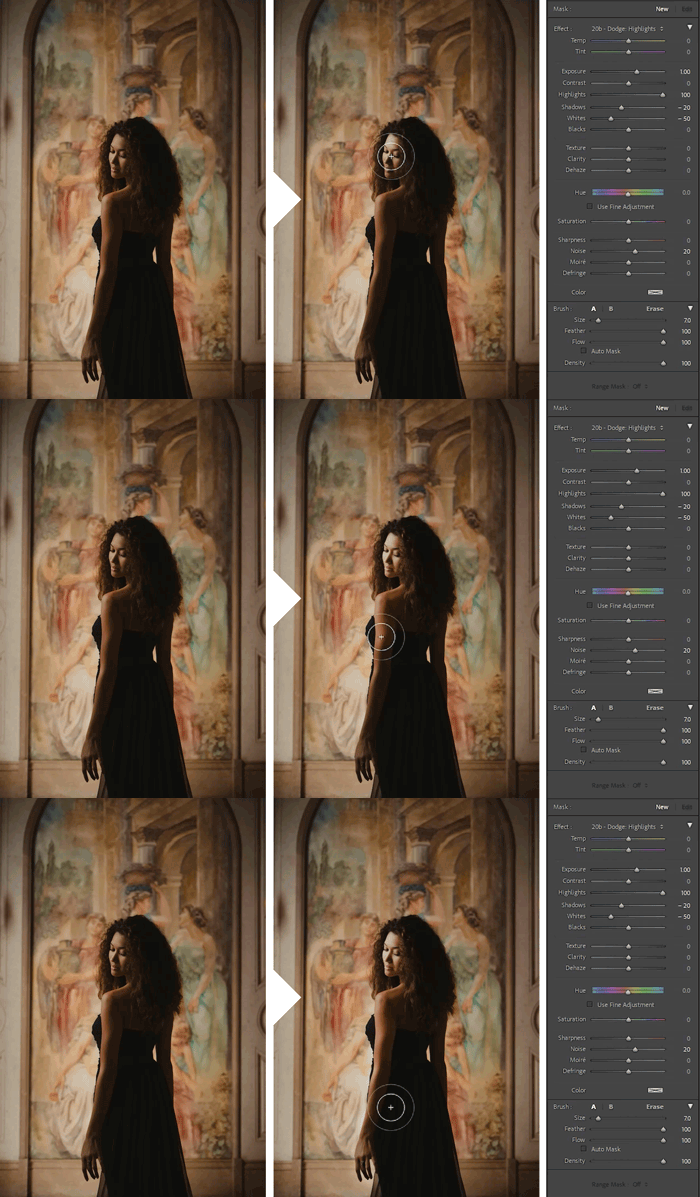
For the portrait of our model, I used a different approach. Rather than a radial filter, I started by lowering the entire exposure. Then, I used “Dodge Highlights” from the Retouching Toolkit to brush light back on the model. This brush selectively lifts the highlights and leaves the shadows, keeping a very natural appearance as we brighten up our subject.
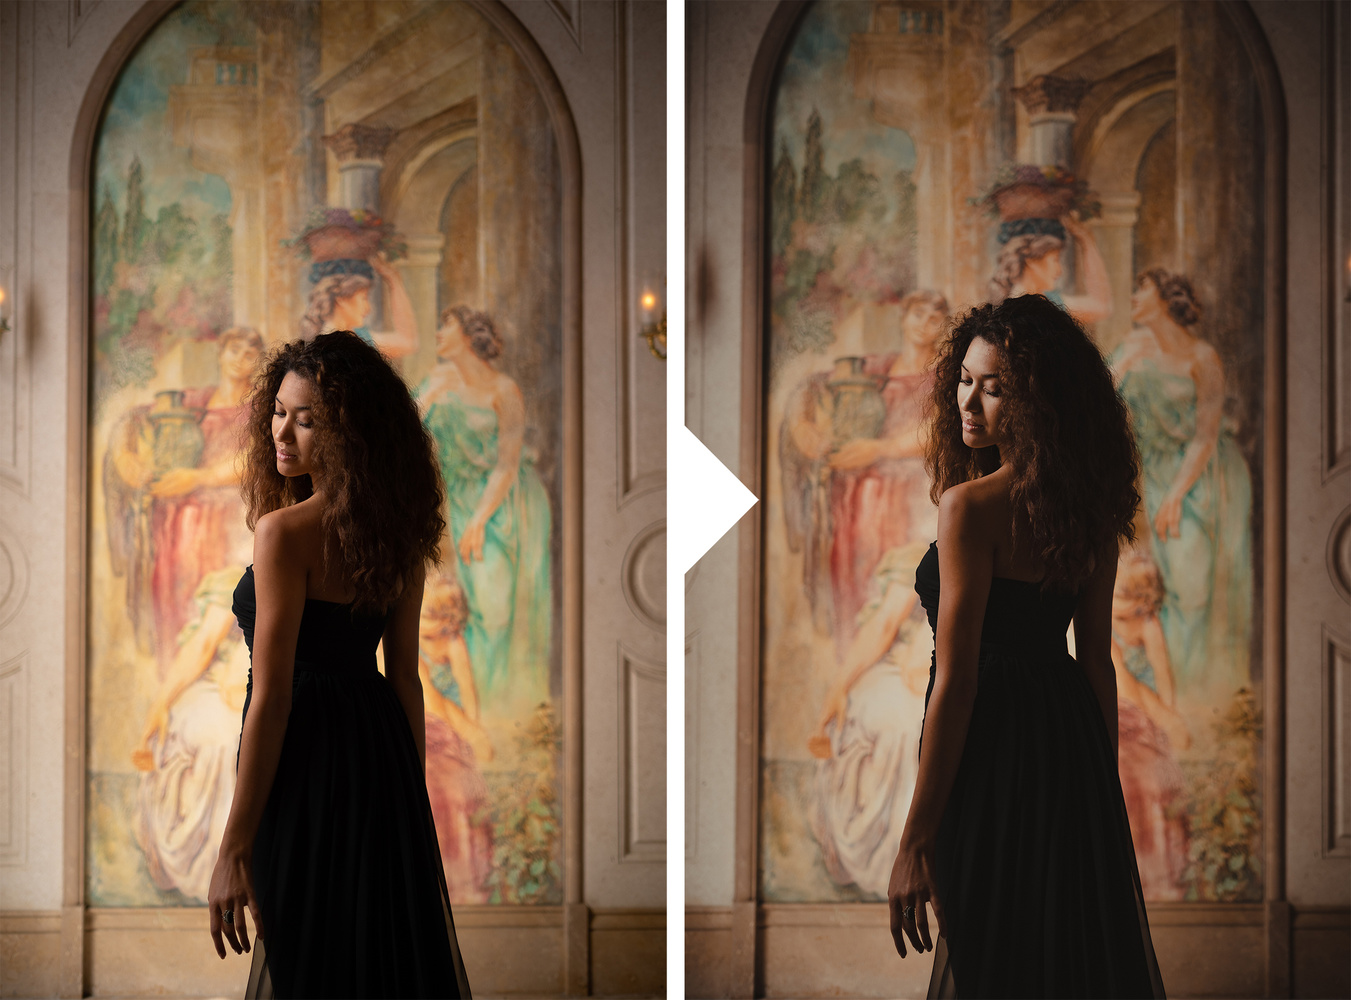
The last step is to add in the subtle radial burn and the image is complete. Check out the before and after.
Conclusion
I hope you enjoyed this article/video! Give this technique a try next time you’re out on a portrait shoot and see how your image can be completely transformed. All you have to do is look out for the brightest place in your image and place your subject there. Then, enjoy the amazing flexibility to manipulate the lighting once you take your photos into post.
For a full course on editing, be sure to check out the Mastering Lightroom on SLR Lounge Premium. You can also find intuitive lighting-based presets like the Modern Pack as well as the Retouching Toolkit at Visual Flow.
