I’ve been doing astro-imaging for more than 20 years. Originally, there were not a lot of editing options, but over the years that has changed. But Astro Panel 5 offers some intriguing options.
For imaging with a telescope, most cameras output a file type (FIT) that didn’t work with Photoshop or Lightroom. That’s still largely the case, although there are applications that let you change those files to 16-bit TIFFs, which is what most astrophotographers use if they want to edit with Photoshop. As a result, there have been some good plugins that automate many of the tasks needed to bring out details in astro images and also correct the color, which is a real challenge in light-polluted environments. Most Milky Way work is done using raw files generated from short exposures on DSLR or mirrorless cameras. For my work, I use a Sony a7 III and a Sony FE 20mm ƒ1.8 lens.
One of my favorite tools has been Astro Panel, which has recently upgraded to version five. Strictly speaking, Astro Panel 5 is an extension, rather than a plugin. Think of it as a whole lot of macros that can reduce very complicated procedures in Photoshop down to a click.
Astro Panel 5 is a solid update to version 4, which I reviewed last year. The GUI has been enhanced, and many features have been added, such as new color balance routines and mask refinement. Also added are star spikes and advanced star selection to reduce stars (important with deep sky and Milky Way photography). There are also new features for stacking multiple images for noise reduction.
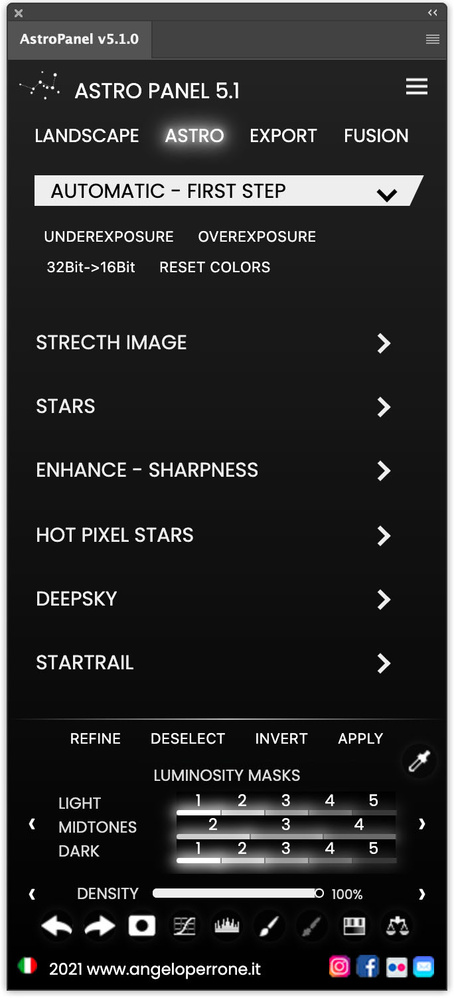
Astro Panel 5 also has some excellent tools for working with landscapes, including Orton effects, glow effects, hot pixel removal, color correction, noise reduction, and sharpening. Again, these things can all be done in Photoshop, but not as quickly and often not as effectively.
Working With Astro Panel 5
The first step is to decide what image you will use. I tried a Milky Way exposure I took last fall. It’s 28 17-second exposures stacked in Starry Landscape Stacker. The original file didn’t have a proper color balance due to light pollution, and there wasn’t much detail visible.
With Astro Panel 5 running in Photoshop, I corrected the color balance, tonality, and white balance. It was a click for each. I then went to the image correction tools and clicked on noise. As this is a landscape as well as an astronomical image, I could see that the noise was being reduced in both areas.
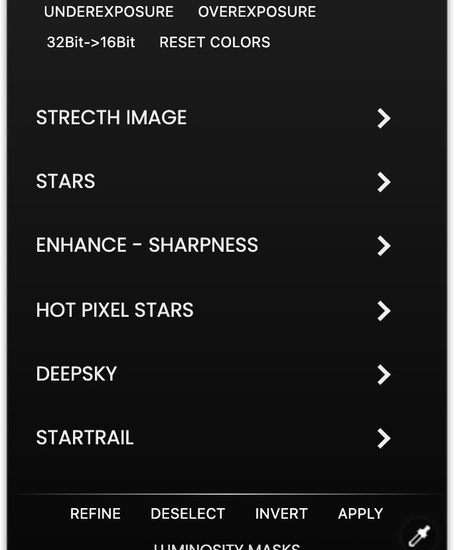
Astro Panel 5 has controls for dynamic stretching. It worked well on my Milky Way image, letting me see more of the core. From there, I wanted to slightly reduce the stars so they did not take attention away from the Milky Way. There is a one-click tool for that, but I thought it made the stars too dim. Since each operation in Astro Panel 5 creates a new layer, it was easy to reduce the effect with a slider on the new layer.
There are also tools to increase star color, something I find useful when working on deep space subjects. Next in my workflow is to enhance the details beyond the dynamic stretching. Using the boost button, a black mask is automatically created. Then, you paint in the detail where you want with the brush.
Here’s a before of the above-mentioned Milky Way photo.
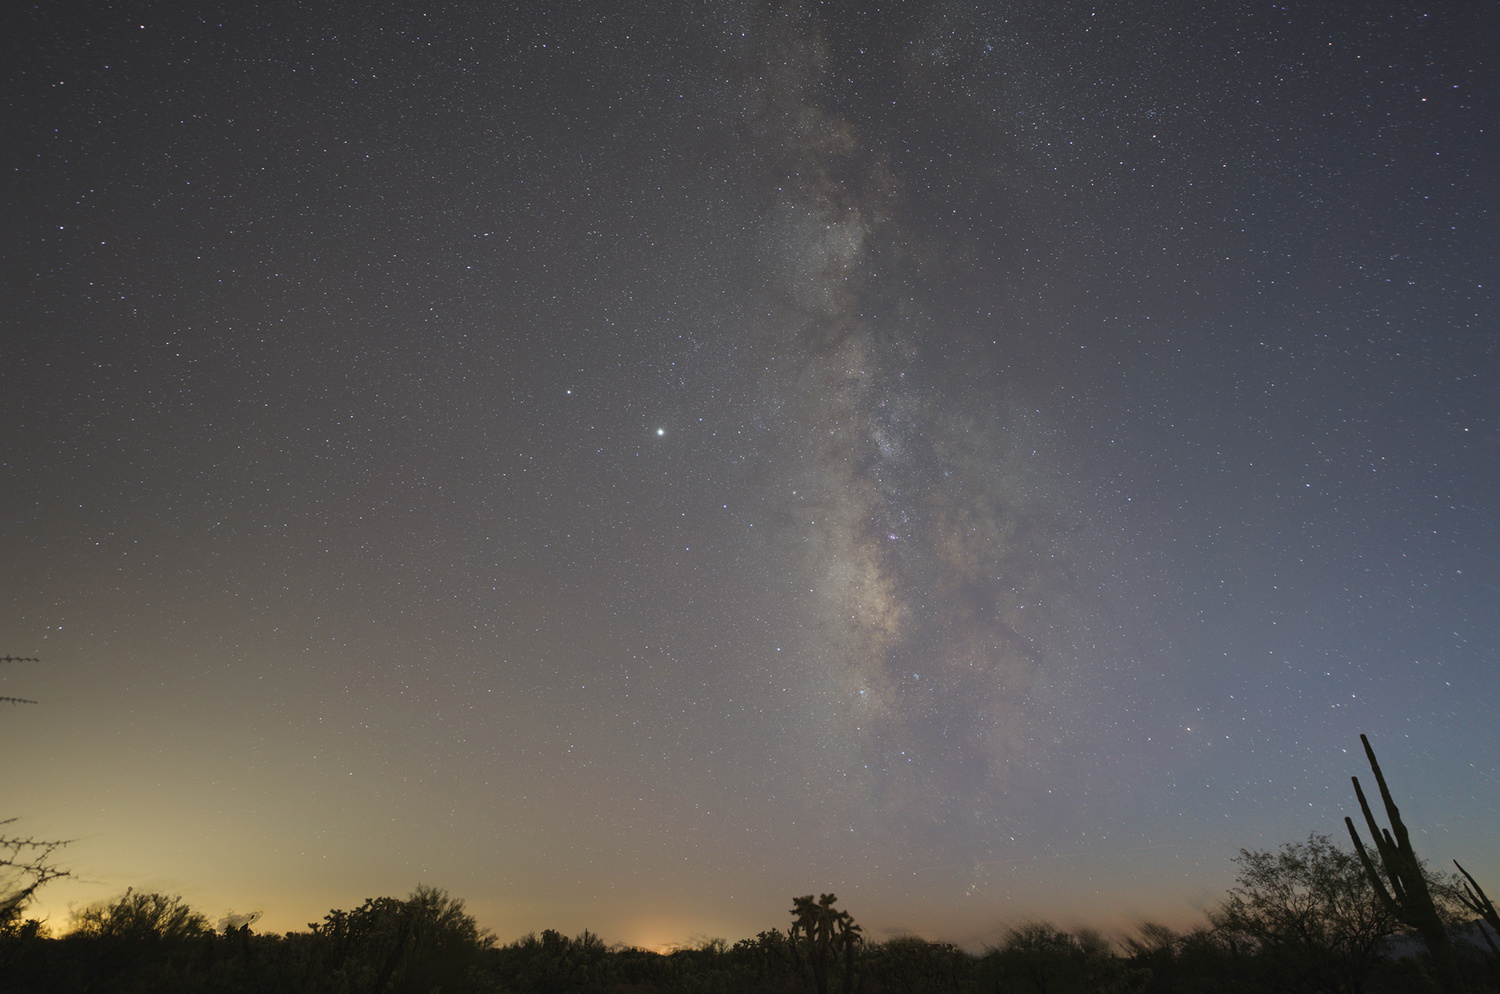
And here’s the after with minimal work using Astro Panel 5.

Left to be done is cleaning up the light pollution at the bottom of the frame. Astro Panel 5 is missing that feature, and I hope they add it.
A better way to see this plugin at work is to see the tutorial for Astro Panel 5, which you can see here. There are also tutorials for working with landscapes and deep-sky images.
Is Astro Panel 5 Worth It for Astrophotographers?
I’d say yes. It jump-starts your workflow and can get you a nice image with a minimum of work. I use it mainly for Milky Way images, but I always start in Camera Raw to reduce haze and add a bit of clarity. Then, I move on to Astro Panel 5. I find, in my own work, I still use some Photoshop tools to finish my image. I’ll always use Curves and some dodging and burning to deal with light pollution, although both commands are available in Astro Panel 5.
Overall Plusses and Minuses
- Easy to use (after reading the manual and watching video tutorials).
- The plugin is stable. It never crashed or acted up.
- Excellent export tools.
- Multiple undo (or you can delete layers in Photoshop).
- No help or explanation of icons on the app itself. You have to go to the website for tutorials.
- You can accomplish pretty much the same in Photoshop or Lightroom, but it’s more complicated and slower.
- No dedicated tool for light pollution removal.
I like Astro Panel 5. It’s a nice evolution from previous versions. It sells for 49.90 Euros or about $60 U.S. while it’s on sale, which is about 75% off.
It’s useful for advanced amateurs and beginners. It seems to do well on deep-sky objects, and I tried a couple to see if it works, which it did as far as I took the images. It also has features to enhance landscapes, but that’s a topic for another review. There’s more detail on all the features on the company website.
Lead image courtesy of Angelo Perrone, the software author.