Nobody wants a noisy photo, that’s why in this tutorial you’ll find out how to remove high ISO noise fast using some helpful tools in Lightroom.
Although cameras have come a long way in the past few years there’s one thing that’ll guarantee a noisy shot every time: high ISO sensitivity. When you can’t open up the aperture any wider, can’t push the shutter speed any longer, and can’t add any more light it’s time to crank up that ISO to get a decent exposure.
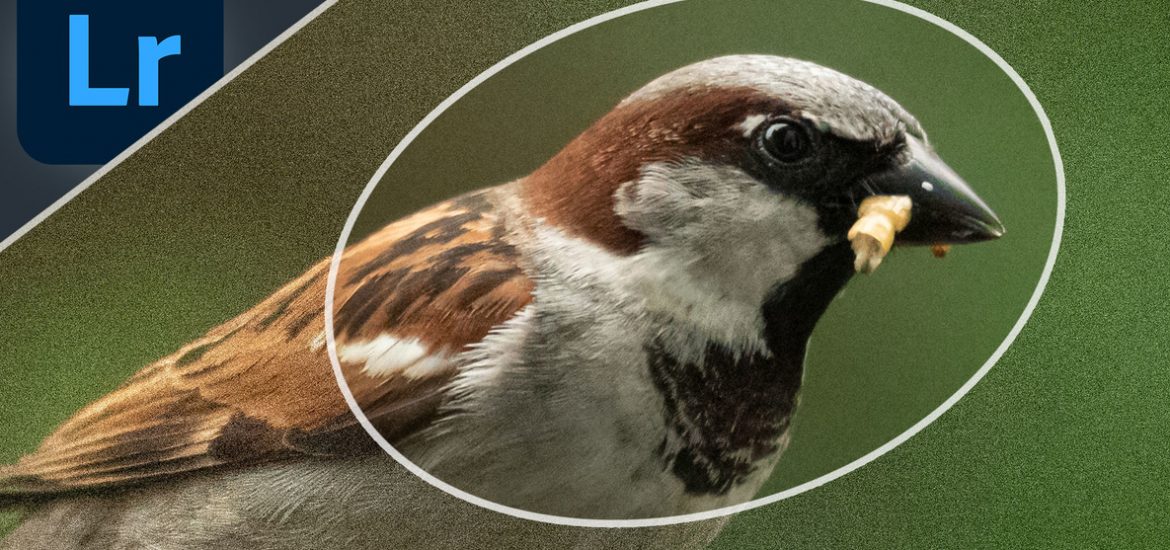
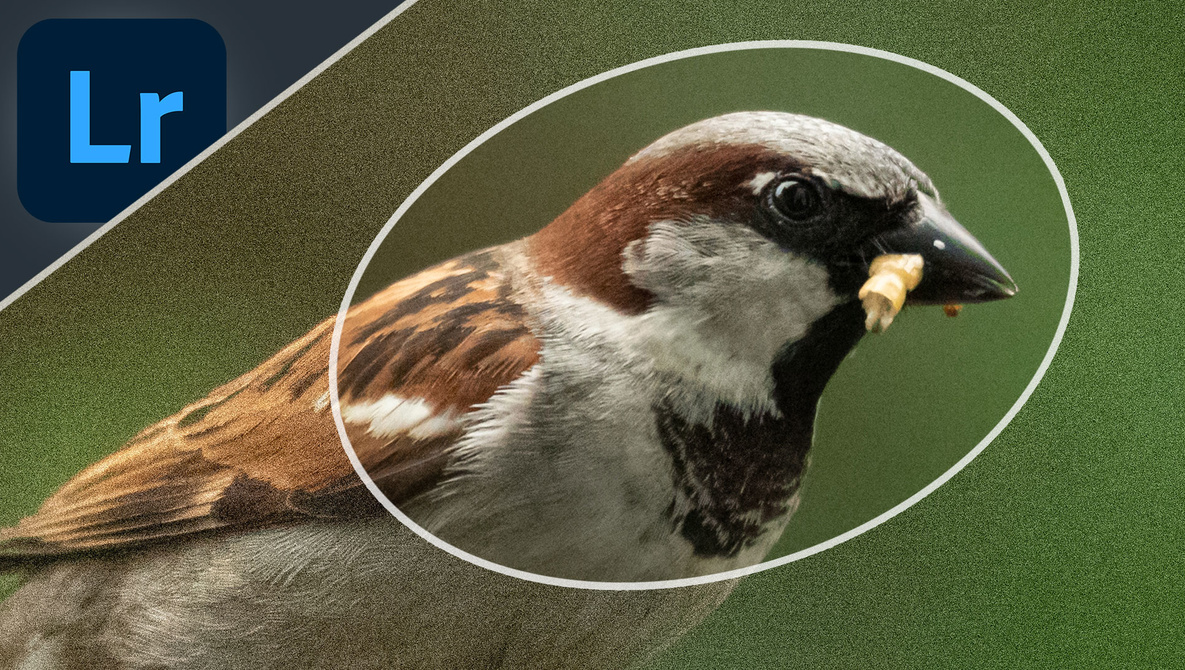
DSLR and mirrorless cameras are brilliant at handling high ISO with relatively little ISO noise, but for those times when you need to turn it up to 11 but are worried about the results, here’s a helpful little technique that you can use in Lightroom Classic to remove the pesky grain whilst maintaining detail in all the right places. I’m going to give you an example with a starting image shot at ISO 12,800!
Zoom in for a Good Look
Before I can start working on the image properly I like to zoom in to fill the screen with a close look at my photo. To do this I set my zoom amount to either 100 or 200% depending on the size of the subject in my frame by going to the drop-down menu in the top-left of the window, next to the Navigator. That way, I can just single-click on the photo with my cursor and the image will bounce from Fit (filling the image window with the entire photo) and the extreme zoom. I decided to work on my image at 200% zoom because the male house sparrow in this shot was quite small and I wanted to concentrate on details around his head.
Introducing the Luminance Slider
In the Develop module, I scrolled down to the Detail panel and navigated to the Noise Reduction section. Here I have a variety of sliders at my disposal for removing noise and artifacts in the photograph. The first slider (and the one that makes the biggest impact) is the Luminance slider. I increased the Luminance slider to +37 which did a good job at removing the fine high ISO noise.
The amount of Luminance you’ll need to use will depend on the intensity of the noise in your photo. It’s tempting to whack the slider right up to 100 (maximum) but avoid this if you can because there are some more steps to take to make things more accurate and realistic-looking.
Increase the Detail
Right underneath the Luminance slider, I have the Detail slider. The best way to describe the Detail slider is that it reintroduces the fine textural details to the photo without undoing all the good work of the Luminance slider. I’ve boosted it up to 100 here to show you exactly how it works. The eye and head feathers are much more detailed now, but it has also affected the rest of the surrounding green background.
Back It off a Touch
I decided to drop the Detail slider back down to +50 because I wasn’t keen on the added texture in the grainy green background or on some of the bird’s feathers. Instead, there’s a more selective way to apply the detail I’m looking for in this photo — something that’ll really help regain some of that lost sharpness.
Boost Contrast Slider
I don’t use the Contrast slider in the Noise Reduction section all that often, but I’m bringing it into the mix here because I felt as if the noise reduction I’ve applied so far has both removed a little sharpness from my male house sparrow, and taken away some of the dimensionality to the bird with some textures being glazed over. The Contrast slider helps to counteract this a little by refining the noise removal process over the areas between brightness and darkness.
Utilize the Adjustment Brush
It’s time to get picky. Head up to the Adjustment Brush and resize your brush so that you can paint over some fine details such as the eye and face. I set a medium Feather because I wanted the brush to be soft enough that it wasn’t obvious exactly where I painted. I also ticked the Show Selected Mask Overlay button (keyboard shortcut O) so that I could see where I was painting.
Now, it’s tempting to think that you should just turn up the Sharpness slider at this point. But please, don’t! If you want to go down that route you’ll just be undoing everything you refined in the noise removal process. Instead, there’s a better tool to use: the Texture slider. I’ve boosted Texture right up to +77 and made a selection over only the most important areas that I wished to reintroduce detail to. Namely, the eyes, beak, and fine feathers that were all captured relatively sharply in the original image.
Add Detail Exactly Where You Want It
It’s a good idea to take a step back and re-analyze the photo at this point. I like to zoom out and take in my subject as a whole before committing the brush edits. I noticed that there are some portions of feathers on the sparrow’s body and wing that are sharp as well, so I continued painting over these areas to selectively improve the detail in those areas. This is an excellent way of keeping detail because you’re not affecting the whole image, and portions that you want to keep smooth and noise-free (such as my green background here) will stay as such.