It’s what a tilt-shift lens was born to do. Learn how to straighten up your leaning buildings with this simple technique and never have a parallax problem again.
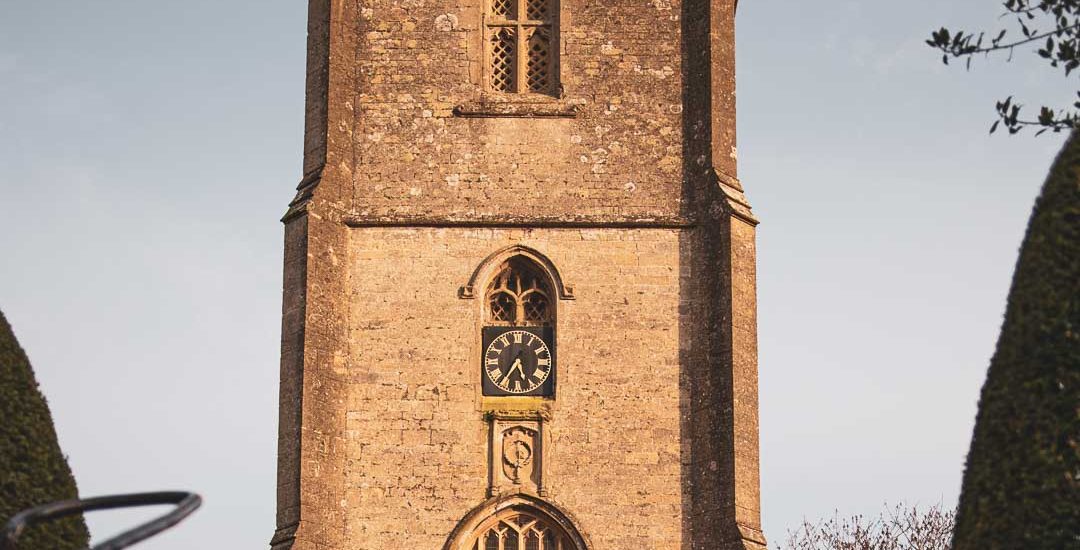
When shooting architecture, especially when you need to get up close to the building from the ground, you’ll notice that the buildings all mysteriously seem to be leaning back away from you in the photos. Why does this happen? Well, it’s all to do with height. If you’re on the ground floor and the building is much taller than you, then the top part is farther away and therefore appears to converge into a central point. This effect is more exaggerated when shooting on a wide-angle lens and particularly when you’re shooting close to the subject.
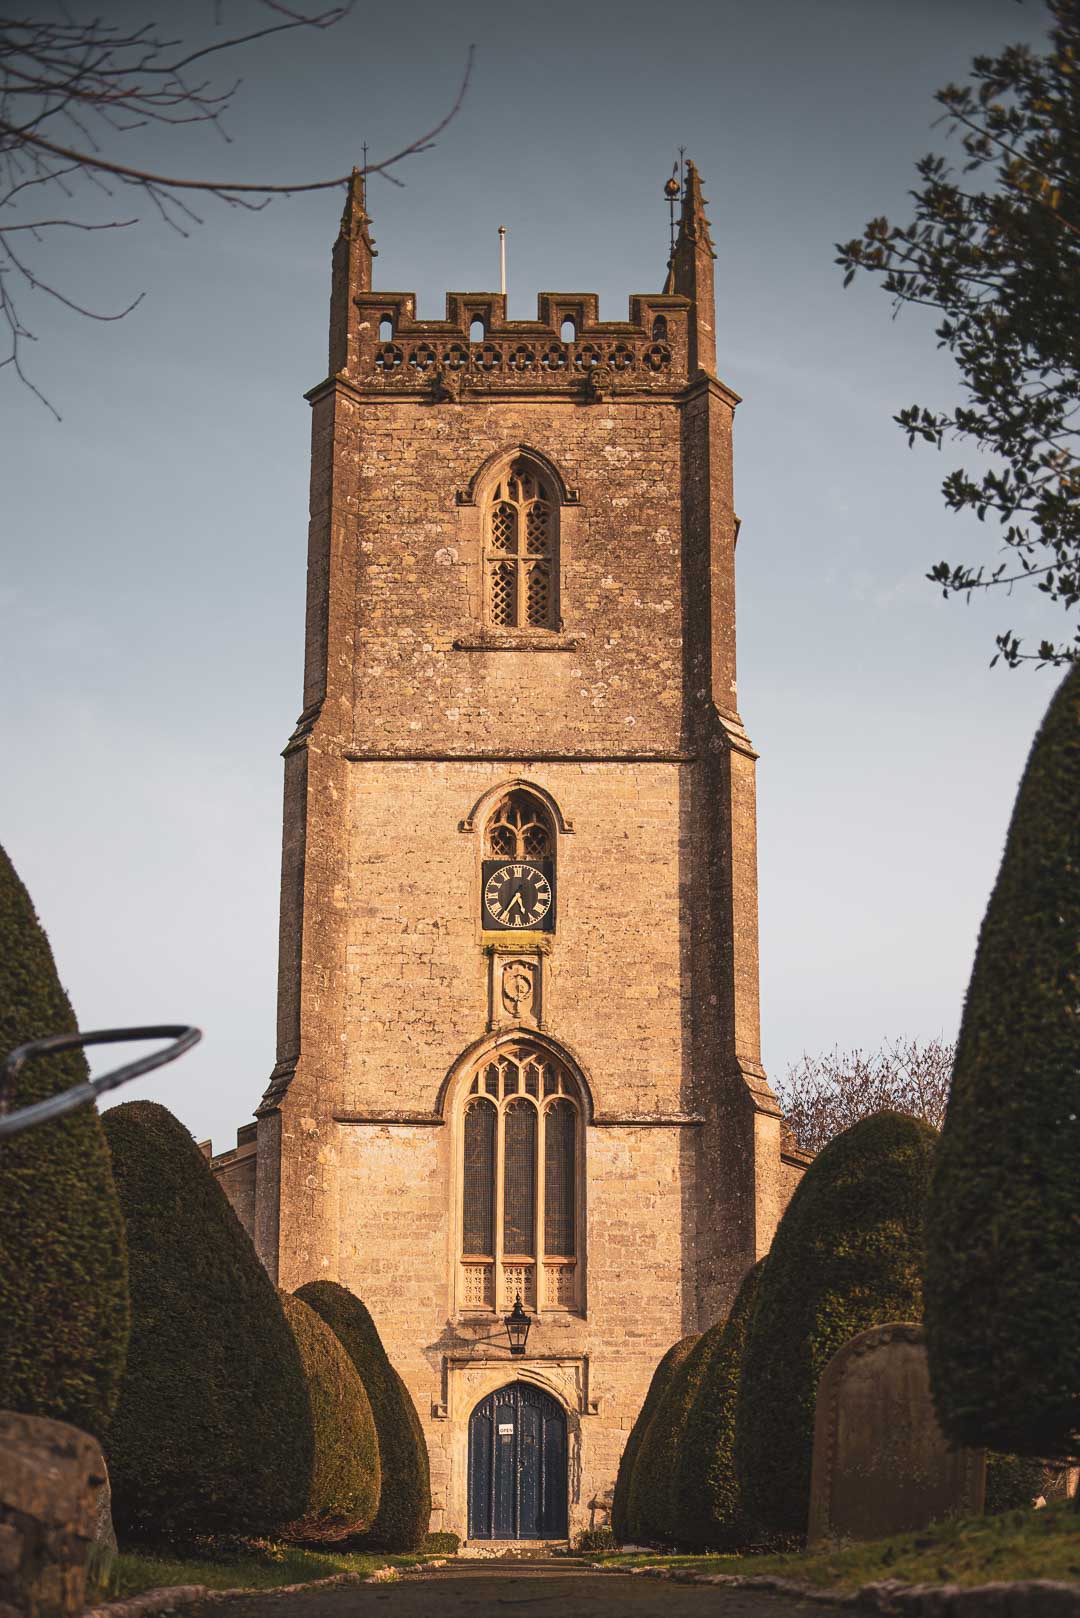
To counteract this we can use a tilt-shift lens that literally shifts the glass inside the lens to correct for this distortion. It appears to make one half of the frame wider and thereby straightens the converging lines (also known as the parallax effect or parallax distortion). It’s also possible to correct this in editing software, but getting it right at the source is usually the best approach. If you’re an architectural photographer, or want to get into it, a tilt-shift lens might be your next best purchase. Sadly though, tilt-shift lenses are manual focus and fixed focal length (at the time of writing) and are quite expensive. However, their optics are incredible and the Nikon 45mm f/2.8D tilt-shift lens I’m using is insanely sharp and built like a tank. Move the slider in the before/after below to see how a quick shift from the lens can correct the problem.
Get Set Up
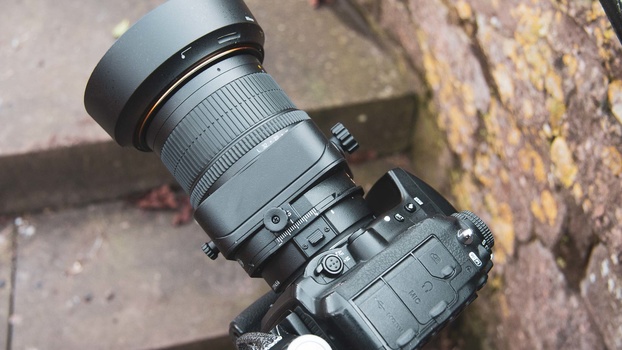
To shoot my scene I set my Nikon D750 on my Gitzo traveler tripod to keep everything steady and then composed my shot of this old church by placing the camera at the bottom of the steps. At a low vantage point, I could now fit the whole church into the frame with a wonderful leading line provided by the path and trees in the bottom of the frame. I shot this on a Nikon 45mm f/2.8D tilt-shift lens.
Keep It Level
Architectural photography is all about being precise with the camera. Though we’ll be working towards getting the converging lines straight we must first level up the camera. On my D750 I turned on live view and hit the info button until the virtual level displayed. This tells me precisely how level my x and y-axis’ are. When I’ve got the horizontal leveled out perfectly the yellow line turns green as you can see in the image above.
Zoom in To Focus
The Nikon 45mm f/2.8D tilt-shift lens I’m using is manual focus, as indeed is every tilt-shift lens in existence (at the time of writing). So it’s important to take your time to focus things up. I turned on my live view and zoomed in on the screen using the + button. Then I turned the focus ring back and forth until it was tack-sharp. Luckily, the focus ring on this lens is so smooth and accurate that I could fine-tune my focus until it was absolutely perfect.
Spin the Lens
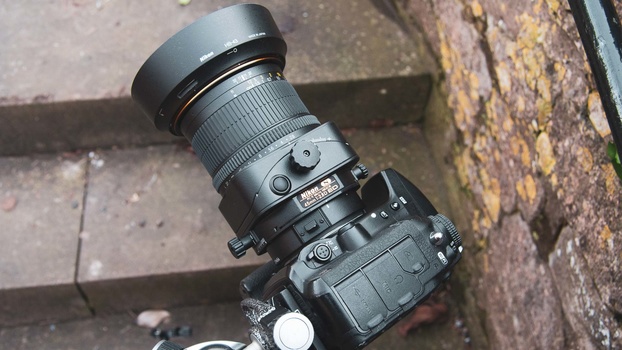
So there I was, lining up the shot, I had my focus and started to shift to straighten those pesky converging lines when all of a sudden it was straightening horizontally. Oh no! I’d just spent all that time lining up only to find out my tilt-shift lens isn’t oriented for vertical frames. But no, you’d be mistaken if you thought that you could only do this in horizontal format. Thankfully, there’s a switch on the lens that allows it to rotate around the camera, much like the longer telephoto lenses have. So I could rotate the lens and not the camera, leaving my composition intact. If you have the same problem, check that switch and pivot the lens around until you’ve sorted it.
Maximum Shift
With my composition spot-on and the focus nailed I was ready to dial in my shift. With the orientation of my lens I turned it to maximum positive shift in order to correct the parallax distortion and have my church stand upright, instead of slanting away from me. At this point, you may find that you need to recompose though, depending on how close you are to your subject. Luckily, I was okay but if there’s little wiggle room in your frame then you’ll find a drastic lens shift like this will cut out one side of the frame.
What About Negative Shift?
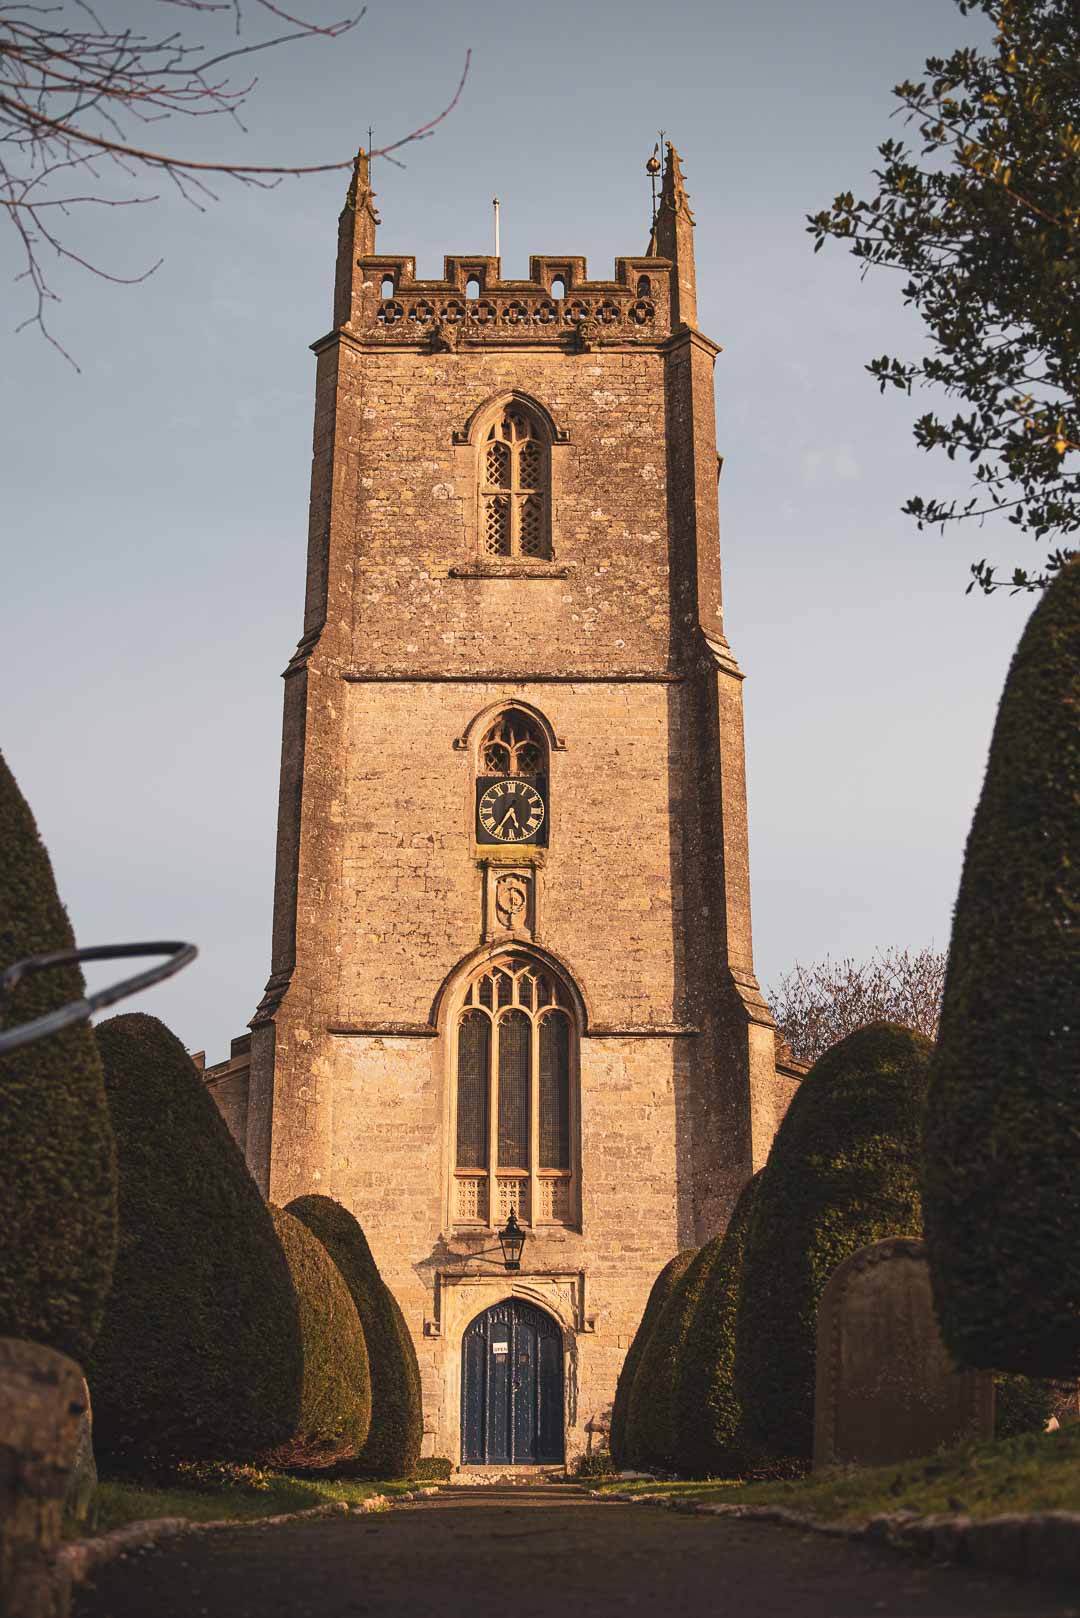
How does this differ from positive shift? Well, not to sound too much like Captain Obvious, it goes the other way. Instead of making our buildings nice, tall, and straight, they start to lean even further away. Of course, it depends which way up you’ve got your lens mounted though, so you might find that the negative shift actually straightens your building if you’re shooting in the opposite direction to me. Simply put, I’m going in the opposite direction here and it’s shifted everything back the other way. Take a look at the back of my screen now and we can only see steps!
Here’s a look at all three shots together, left is regular with no shift, the middle is with the maximum positive shift, then right is the maximum negative shift. Notice how the photo on the right makes it look like the church is leaning back even further than the first unshifted shot on the left? It’s not usually a look you go for in accurate architectural work, but it could be used as an artistic/creative device in certain situations.
As you can see using a tilt-shift lens to correct the converging lines on a building for architectural photography is actually pretty simple. You just need to compose your scene, level everything up, and get the focus nailed while shifting the lens to correct for the distortion. Your camera settings will also impact the scene, as in any photo, with a narrower aperture providing a longer depth of field, and if a long shutter speed is used then you’ll want to use a tripod to avoid camera shake.