It doesn’t matter what kind of photographer you are, chances are your images will benefit from being edited in some way. If you are serious about your pictures looking their best, these six key Photoshop techniques are well worth mastering.
Adobe Photoshop is a vast program with tools and features that can alter your images beyond recognition. While the extensive list of things the program can do may feel intimidating to many, you’ll be pleased to know you don’t need to learn every facet of the editor. Many photographers use the same few tools, again and again, to transform their images to a high standard. I know I fall into this category of users who have tried, tested, and rejected many of the features in Photoshop over the last 20 years of using it. In all that time of using the program, I have managed to distill the many features on offer down to just six key tools that I use every day.
Dodge and Burn

Starting off the list is a pair of tools that are based on a traditional darkroom technique. Dodging and burning is a way to lighten or darken areas of the image with the use of a brush. Dodging will lighten things, while burning will darken them. Both the dodge and burn tool can be found on the same icon on the toolbar. To switch between these two tools, you can right-click on the icon, which will reveal a dropdown of all the options in this group.
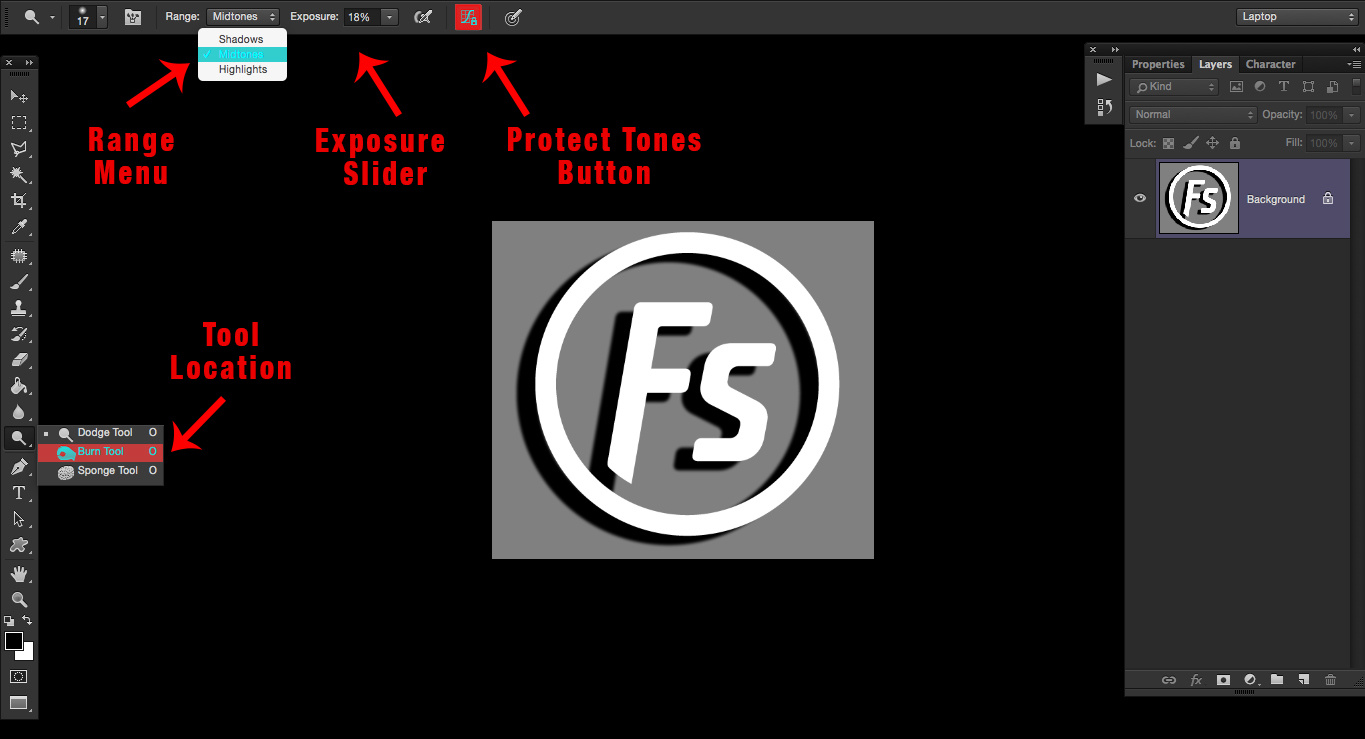
Once you have the correct tool selected, you have some further controls at your fingertips. First, you can select if the dodging or burning will affect just the highlights, midtones, or shadows from the range menu. Next, you have an exposure percentage, which alters the strength of the tool. The higher the number, the stronger the effect will be. These two controls can be found on the top menu bar. Lastly, there is a Protect Tones option, which when selected will minimize the clipping in the shadows and highlights. This option also tries to keep colors from shifting hue. I personally always keep this last option selected, but you may want to experiment with toggling this on and off to see which you prefer.
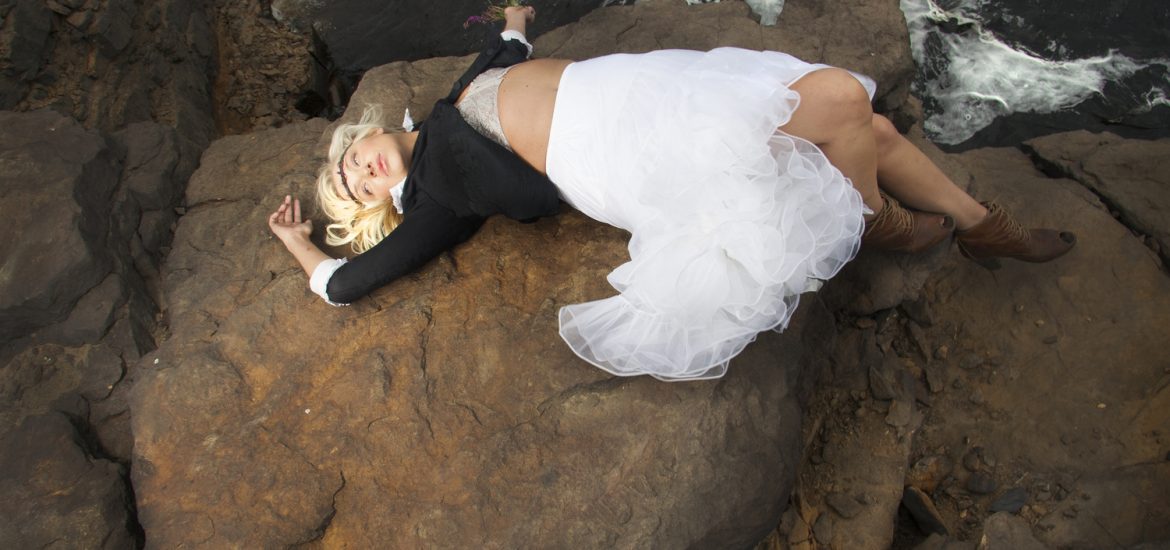
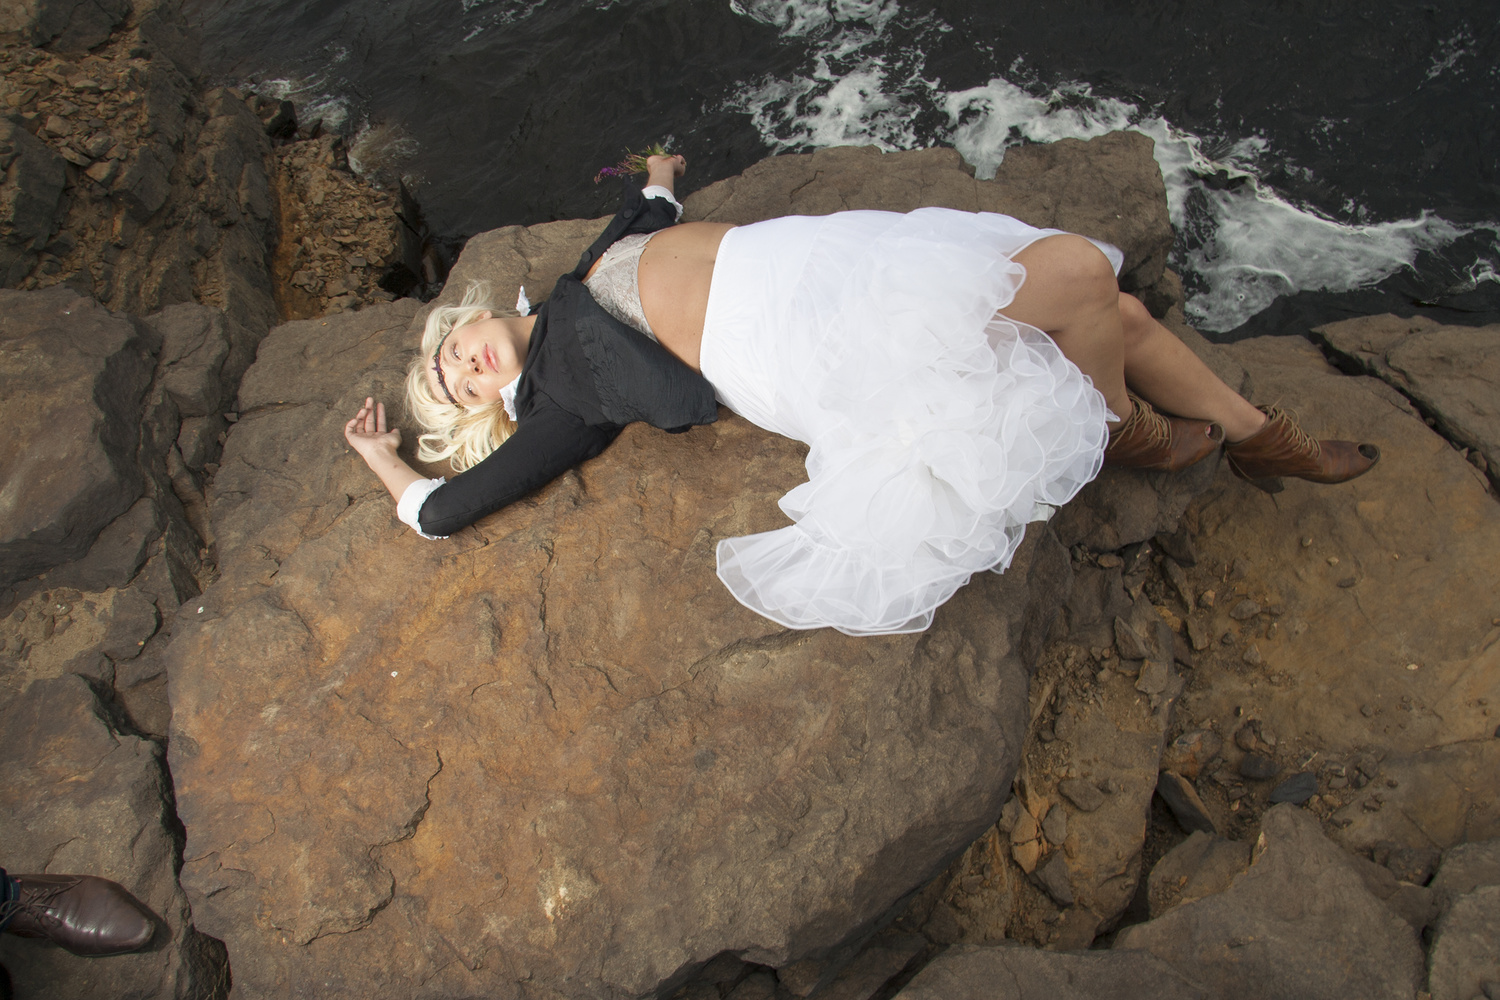
Mastering dodging and burning can take some practice to dial in, but the results can enhance an image. It doesn’t matter if you shoot portraits, landscapes, wildlife, or even still life, dodging and burning can sometimes be all you need to transform your image into something special. If your pictures sometimes look a little flat and two-dimensional, this tool can change all that.
The Pen Tool
If you need to make complex selections or “cut out” something out from a busy background, the Pen Tool is just what you need. I must admit, for many years, I resisted this tool, as I thought it was something more for graphic designers and not photographers. Once I did start to use the tool, though, I never looked back. While there are many great tools for making sections, nothing can beat the human eye and a steady hand.
The Pen Tool is located in the toolbar just below the dodge and burns icon. Once selected, it’s just a matter of drawing connected points around your intended object until you complete your selection. The great thing about the Pen Tool is that by dragging any of the points, you make it possible to create curvy lines to any degree. This means any complex shape you can think of can be drawn with the Pen Tool.
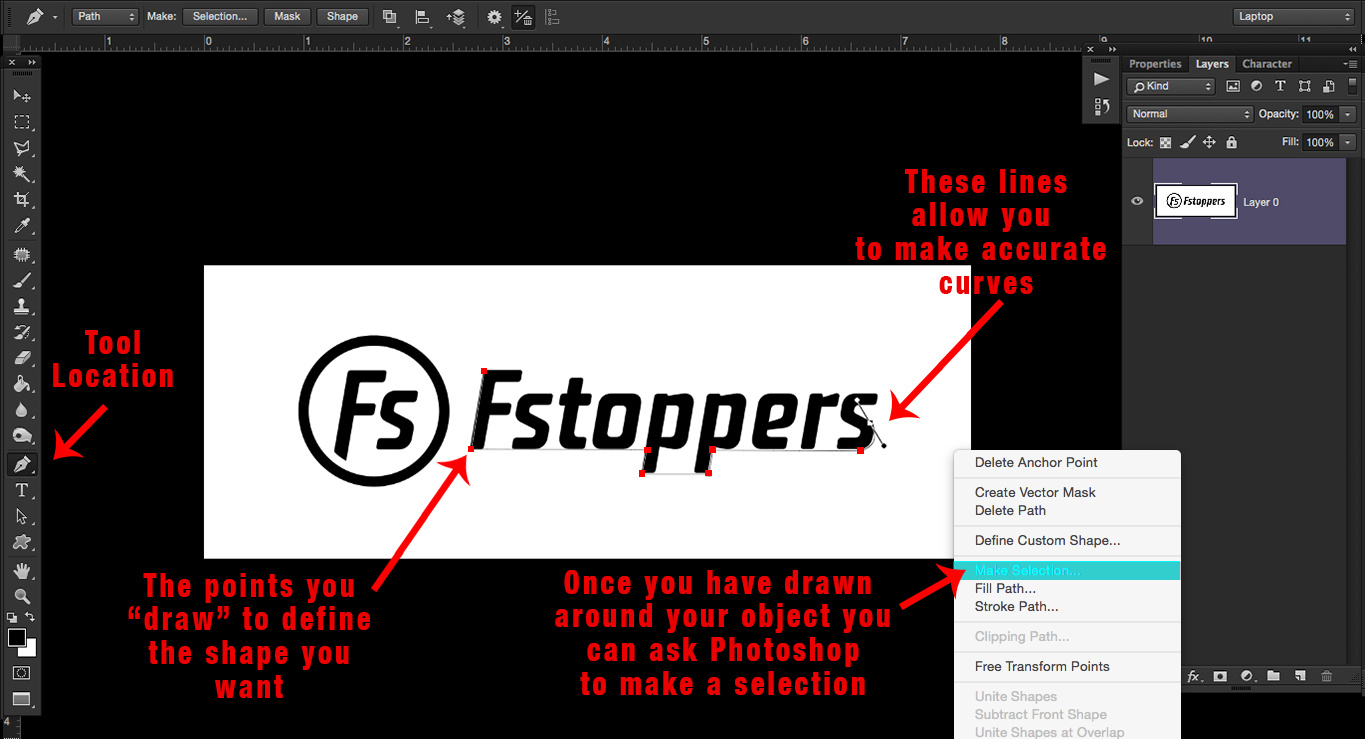
Once you have all your points drawn around your object, it’s just a matter of right-clicking with the mouse and asking Photoshop to make a selection for you. This selection can then be easily used to separate an object from a background or used in an image mask on various adjustment layers. While the Pen Tooll can take some time to get used to, I urge users to hang in there, as it still is the best way to get consistent and accurate sections of difficult objects.
The Shadow/Highlight Tool
Sometimes, you will take a picture that is generally well exposed but is still lacking some detail in the shadow or highlight areas. When one or both of these parts of the image need some adjustment, the Shadow/Highlight command is a great tool to use. To access this tool, head over to “Image” in the menu at the top, then down to “Adjustments,” where you will see “Shadow/Highlight.”

Be sure that the preview option is selected in the dialog box so any adjustments you make with the controls are visible in real-time. Once you are happy with the changes, you can hit ok and the adjustments will be made. I think you may be surprised at how powerful this tool is at rescuing detail in both the darker and lighter parts of the image. The great thing about this particular tool is that no manual selections are needed. Photoshop knows where the shadows or highlights are and alters their value based on your input. For most users, the main Shadow/ Highlight sliders will get you where you want to be. If you want to fine-tune those adjustments even further, there are more options available to you if you click the “Show More Options” button. I have to admit that although I use this tool regularly, I have never needed to fine-tune those adjustments with the extra tools that are made available when you click “Show More Options.” For most users, the original Shadow/Highlight sliders will get you where you want to be.
Repair Tools
I have grouped these two tools, as the pair work well to fix problem areas in your photographs. Both these tools can be found in the same place just above the brush icon in the toolbar. By right-clicking on this particular icon, you will be greeted with several tools all related to repairing the image in some way. Both the tools we need can be selected here.
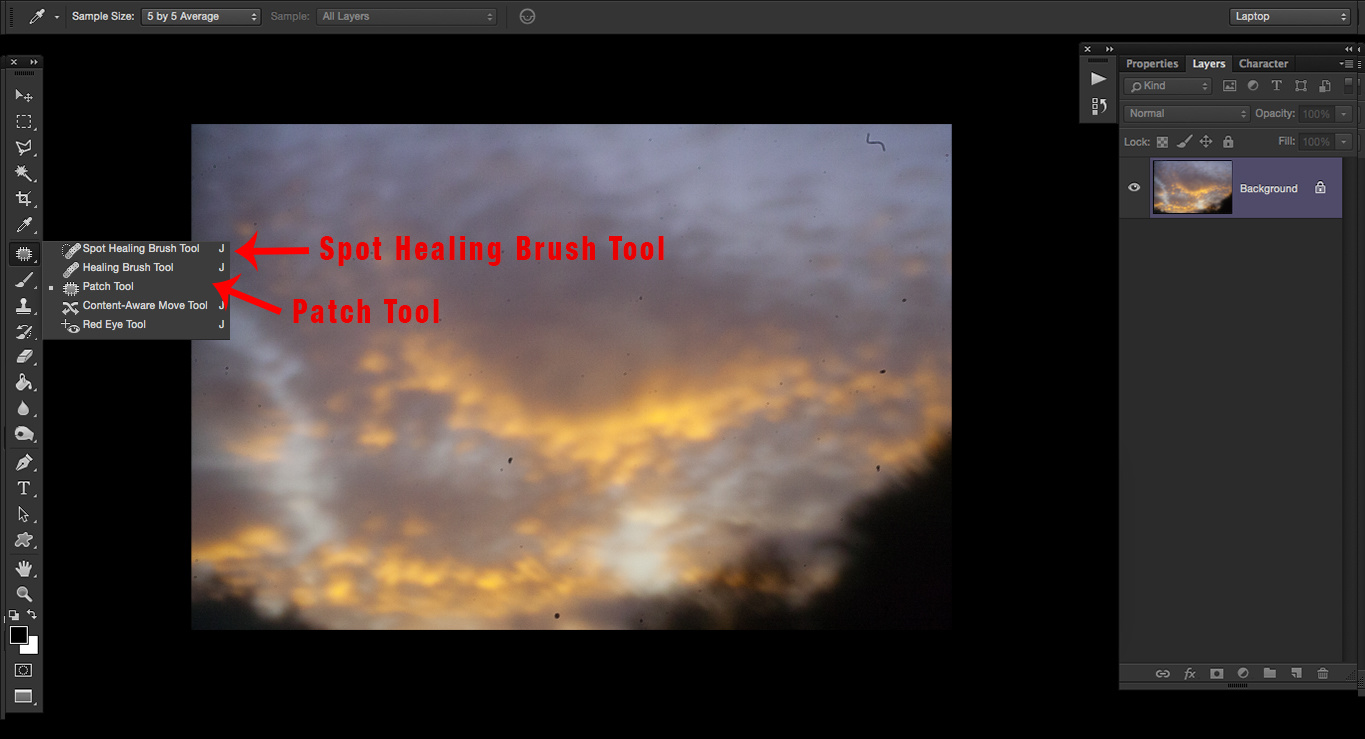
The Spot Healing Brush
The Spot Healing Tool is reasonably self-explanatory and is used to remove spots or blemishes from your work. Spots on someone’s face, unwanted specks on clothing, and sensor dust on your images are just a few examples of where this tool works well.


Because you apply this tool with a brush, you can tell Photoshop exactly what you want to be fixed. One point worth mentioning is that you don’t necessarily need to apply this tool in just small spots. Thanks to the fact you apply it with a brush, you can click and hold the brush down and draw any shape you need. For example, an unwanted thread of sensor dust can easily be fixed with a drawn squiggly line that follows the offending piece.
The Patch Tool
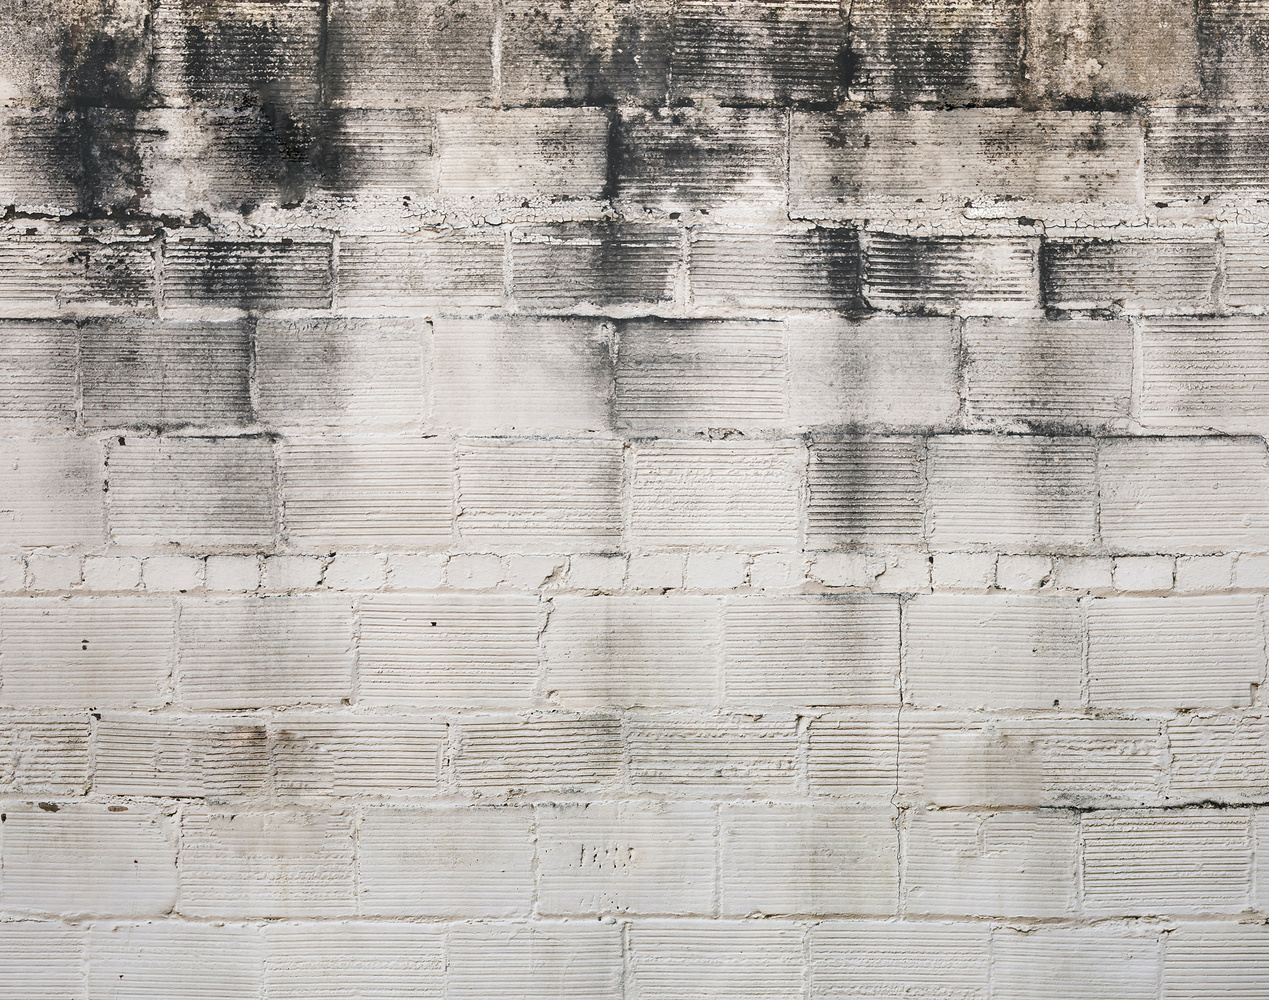
The Patch Tool works slightly differently in that you create a selection around something in your image and then tell Photoshop to source a particular area in the image to patch in a repair. I have this tool set up to “Patch source from destination,” although you can also “Patch destination from source.” Both of these options can be selected in the toolbar at the top of the screen.
I then use this tool to make a selection around a problem area in my work and then drag said selection to a part of the picture that I want the program to reference from when repairing. The great thing about being able to drag the selection around is that Photoshop shows you in real-time the area you going to potentially use to fix things. This visual preview can be invaluable when you are trying to line something up in your work. Think trying to fix a problem area on a tiled wall or trying to remove something on a visible horizon in your landscape work. I find that many photographers underestimate the power of this particular tool and prefer to use some of the newer tools for repairing areas in their work. What I especially like about the Patch Tool is that you tell Photoshop exactly where to “look” to repair. Most of the other repair tools in the editor do this automatically, which can sometimes lead to undesirable results.

The Curves Tool
I think many people find the Curves Tool a little intimidating and tend to shy away from it. This is a great shame, as this one tool alone can do a lot of the heavy lifting when it comes to changing the appearance of your images. Head to “Image” in the menu at the top, then down to “Adjustments,” where you will see “Curves” is an option.
From here, you can make changes to the image’s tonality by adjusting the straight diagonal line on the graph. By changing the shape of this line, you can affect the highlights, midtones, or shadows of the image. You may have heard photographers talk about adding an “S-curve” to their work, which means they have taken the straight line you are greeted with when you open the curves tool and changed the shape so it more resembles an “S” shape on the graph. S-shaped curves are one popular tonal tweak used for boosting contrast and color saturation.
If all that wasn’t enough, the Curves Tool can also be used to adjust individual color channels of an image too. This is really where this tool comes into its own in terms of controllability and possibilities. In my work, I love using curves to change the values of just the blue channel to give my pictures a more stylish look. It’s amazing what a few small tweaks in this tool can do to transform your work.
While there are certainly many more tools that the program has to offer, the six suggestions mentioned above will do most of the heavy lifting when it comes to editing your work. The main reason I wanted to write this article was to help readers to cut through the noise that is out there when it comes to using such a versatile piece of software such as Photoshop. If you can master a few key concepts when it comes to using the editor, you will be able to get your images where you want them to be in a fraction of the time. The way I see mastering Photoshop is a lot like becoming comfortable communicating in a foreign language. You’d be surprised how little you can get by with if you learn a few key phrases. Memorizing every single word in the dictionary may be impressive, but it isn’t necessary.
Do you use all the techniques mentioned above? Any key features you think are missing from the list? I’d love to hear from you in the comments below.