I’ve recently been trying out the new On1 Photo Raw 2022 software. I tested it out on some images from a recent fall photo shoot. Being a landscape photographer and Lightroom Classic user, I discovered that there are some differences that I like and others that I don’t. Here are some of my thoughts thus far.
The Browser
I find I like the browser mode as compared to the library module in Lightroom for the most part. I really like the freedom from having to import my images into the software just to see them or even the folder they are in. It’s often been a little annoying to me that I can’t just treat Lightroom like a browser.
One thing I did miss in the On1 browser is being able to group my HDR brackets in stacks. On the On1 support forum, it was suggested that you create a folder for those images and organize them that way. That’s ok, I guess, but it seems like another layer of work to me. I have become accustomed to the stack feature in Lightroom. It just speeds things up.
Time-Lapse
One feature I enjoyed exploring and that will help On1 become part of my post-processing toolkit is the time-lapse creation feature. Even for a time-lapse newbie like me, it was super easy to select a series of images I had shot for that purpose and put together a quick time-lapse. I can only see this feature getting better over time as new controls and features are added.
Focus Stacking
While not new, I also really like the focus stacking feature in On1 2022. I had tried it before in previous versions and did not have very satisfactory results. But this time, it worked smoothly and easily and gave me a great final image. I’ve always wondered why Lightroom does not include this feature, instead making me export images into Photoshop and use several steps to get to the final result. That final result is usually good, but it just takes a bit more time and effort to get there.
Panoramas
Creating panoramas is likewise very easy, just as it is in Lightroom. However, there’s no setting for creating HDR panoramas, which is something I often use in Lightroom. As far as I can tell in On1, you need to create your HDR images first, then go back and stitch them together in a panorama. I like having both of those functions combined into one.
HDR
The HDR tool in On1 is robust and has a nice set of features for controlling what the look of the final image will be before developing, something which is lacking in Lightroom, which seems to rely much more on the software automatically making choices, which you can then alter after the fact. But, when it came to a ghosting problem in the clouds, Lightroom’s deghosting feature worked far better than On1’s on this particular image where, the clouds were obviously moving by at a decent clip. Lightroom smoothed out the ghosting with ease, whereas On1 just couldn’t handle it, even on the highest setting for deghosting.
Editing
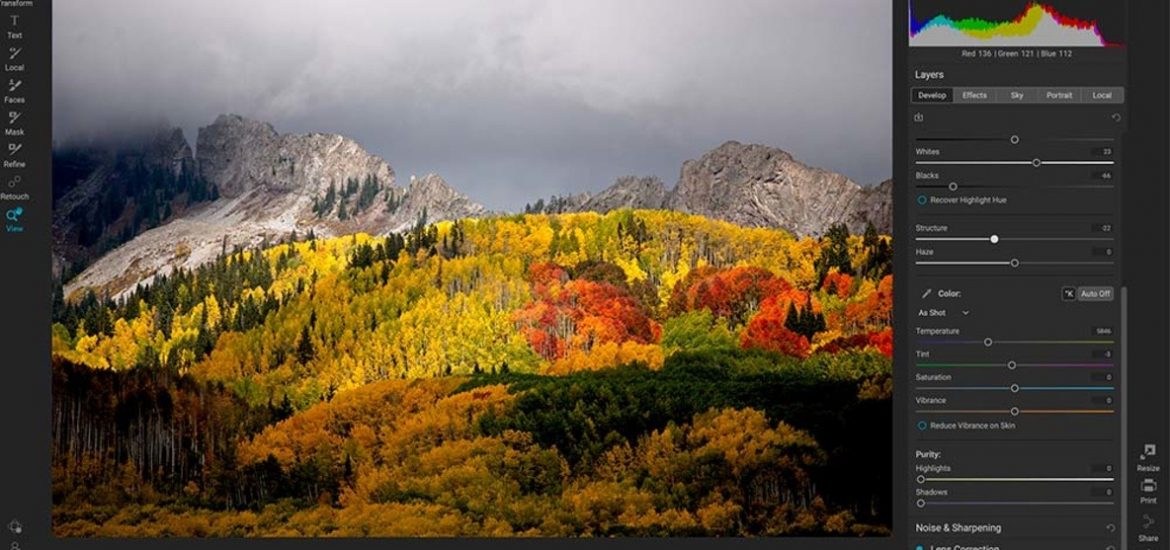
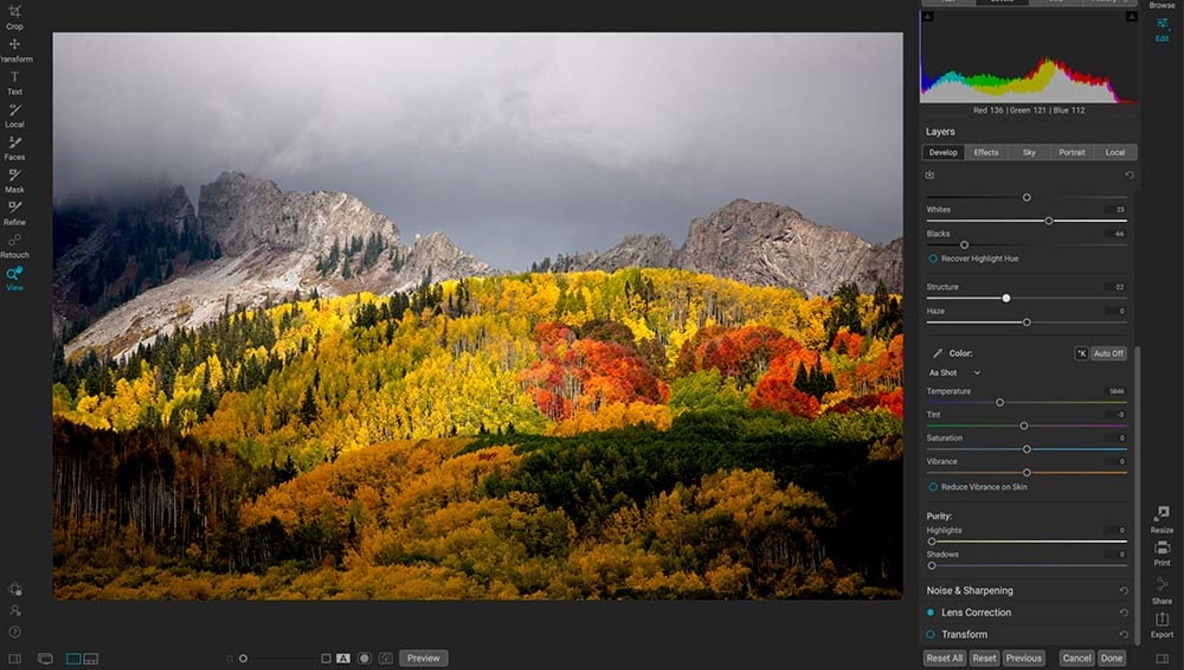
The layout of the editing controls is well organized and straightforward. The presets are there on the left side, and the tone and color controls are on the right in the develop tab. I often like to hide the presets, as I find the thumbnails take up a lot of room. All in all, though, it’s pretty familiar for a Lightroom user. Plus, there are the effects, sky, portrait, and local tabs. I do, however, find it awkward having some controls placed over on the left-hand side, such as the crop tool, retouching, transform, and especially a duplicate of the local tool.
Cropping
Another thing that is a bit harder to do in On1 is saving a custom crop. I was looking for this in the crop dropdown menu, which makes sense to me. After posing the question on a help forum, I discovered that you need to save the crop as a preset. This is another example of making something a little harder than it needs to be.
Curves
One thing I missed in the develop tab was having curves along with the tone controls. It took me a bit to remember that the curves module is in Effects. For me, that’s an odd placement. I like having curves right out there where I can use them easily. I also found the curves control to be not so much lacking in features, but it is just set up more as an effect rather than a primary tone control. Notably, there was no way to select a certain tone by moving the cursor in the image itself to manipulate a la Lightroom. Although there are some additional controls if you go into the settings gearbox, I found these to not accomplish what I wanted or at least not easily. Plus, if you create a point on the curve and then want to get rid of it, it seems that the only way is to reset everything on the curve and start all over — no double-clicking on it or dragging it off. There also wasn’t a preview of what tones you were selecting as you move the cursor around in the image as in Photoshop. Some of these features would be nice, and I would prefer if it were treated as a fundamental tone control instead of an effect module.
Effects
Speaking of effects, one major difference between Lightroom and On1 is the effects tab, which opens up a whole world of different editing possibilities. One could probably write an entire article just on this alone. A lot of them are things I would probably never use, but for my purposes, the two that are most useful in my landscape work are Tone Enhancer and Dynamic Contrast. In Lightroom, I often export an image into Nik Color Efex 4 to do some final editing. I found in On1 I could accomplish many of the same things with these two tools, with the added benefit being that I could now copy and paste those settings to other images, something I can’t do in the Lightroom/Nik workflow.
Structure and Haze Sliders
I have used On1 Photo Raw over several years as a minor part of my workflow and have always found it easy to over-sharpen images. I will get something that I think looks good, export it, and go, “yuck.” The images tend to have an overly “crunchy” look. I’ve gone back and double-checked the sharpen settings and have not found the culprit there. As a result, I use the structure and haze sliders very sparingly because I find they can easily go too far.
History and Presets
A gotcha for me happened when I went back to edit an image on which I had already done a lot of work so that I could play around with some presets. Big mistake. I tried out some different presets, didn’t like them, and immediately went back to the browse module. When I looked at the image again, I found that the last preset was automatically saved to it and that all my original work was gone in the history panel. I much prefer the way that all of my editing histories stay with the image in Lightroom. On1 operates more like Photoshop in this regard. Once you close the edit module, the history is gone. This is just not what I’m used to in a non-destructive raw workflow. I like having all my history there whenever I open an image. I later discovered you need to click on the cancel button to cancel whatever new edits were done before returning to browse; otherwise, the edits are automatically saved. You can always reset the image back to the original or go in and edit each setting again in development and effects, but the history of all your original edits is wiped out every time you go from the edit module to the browse module.
NoNoise AI
A big feature that makes On1 a keeper for me as part of my workflow is NoNoise AI being included. Others have reviewed this particular software far more, so I’ll just say here that I enjoy having this powerful and effective noise control right in the raw editor.
Quitting
Ok, let’s face it. Lightroom is an insecure application. When you go to quit, it asks you: “are you sure” as if you certainly must be having second thoughts. I keep waiting for another pop-up that says: “was it something I said?” When you quit the On1 application, it just quits. No complaints. It’s a small thing, but I like that.
So, there you have it. These are some initial thoughts and experiences in using On1 Photo Raw 2022. This admittedly only scratches the surface, and there are a lot of features that I didn’t even touch, but I hope my observations are useful.
In the past, I have used On1 mostly for experimenting with different looks or creating more over-the-top treatments of my images, but now, with features like NoNoise AI and Time-Lapse built right in, it has moved up in its rankings significantly. For me, On1 still will not replace Lightroom as my main standalone editor yet.
To see another review of On1 Photo Raw 2020 that covers features that I don’t mention, head over to Ivor Rackham’s excellent article here.