I raise you my swirly bokeh to your circular bokeh because I intuitively know that it looks nicer. However, is my swirly Nikkor AF-S 50mm f/1.4G on the Fuji X-T4 more blurry than your circular Nikon Series E 50mm f/1.8 on the Nikon D850? Read on.
Bokeh is subjective — out-of-focus, blurry backdrops can be simply gorgeous, wrapping around your pin-sharp subject, separating them from their surroundings while enveloping them in something soft and smooth. There are those images where de-focused areas are deliciously syrupy, letting you visually glide through the scene, your eyes skimming, skipping, and roaming.
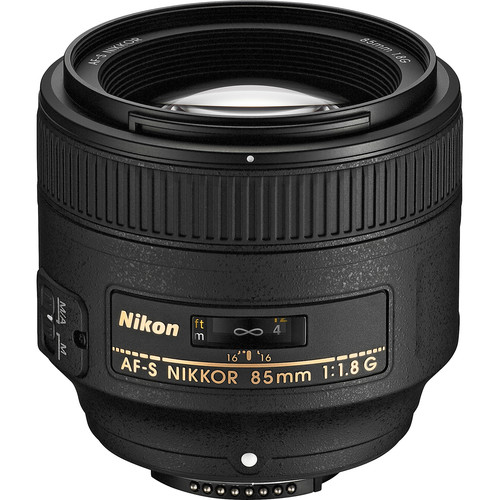
When you are starting with your first APS-C or full frame camera, the recommendation will be to purchase a nifty fifty as your first prime lens. The optical quality is normally decent, and they’re also cheap! More than that, they are often the first foray into fast lenses. Usually rated at f/1.8, they will offer great low-light shooting and yes that oh, so smooth bokeh that you just don’t get with your kit f/5.6. My favorite lens is the Nikkor f/1.8 85mm, which has beautiful bokeh but isn’t too bulky, making it a great portrait lens.
How to Produce Bokeh?
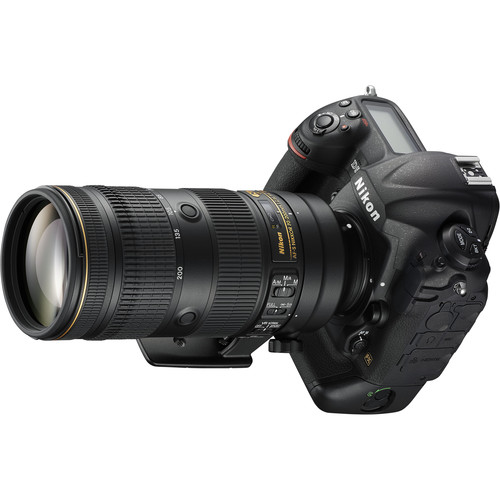
Three key elements affect bokeh. The first is your depth of field. You can calculate this using the free web-based PhotoPills (or their paid-for smartphone app); however, a real-world demonstration is the simplest. Use a mirrorless camera or put your DSLR in live view, then find a dark scene that has a number of lights in the background (a street scene works great). Set the aperture to f/11, then focus on a subject in the foreground. At this point, slowly move the aperture to its widest setting, and those lights should turn to blurry orbs or bokeh balls. Depth of field is controlled by focal length, subject distance, and aperture. This is why many portrait photographers will use a long lens like the Nikkor f/2.8 70-200 mm close in on a subject with a distant backdrop to create the smoothest, most buttery backdrop possible.
The second and third elements affect how light passes through the lens. The first of these is the aperture or diaphragm: while we notionally think of this as a circular hole, it’s a series of blades that form a diaphragm allowing the photographer to interactively resize it. The number and shape of the blades change the way bokeh balls (highlights) look, as the images below show. There has been a move in recent years to prefer something as close to circular as possible, achieved with a greater number of blades, although I have to admit I quite like the angular shapes created by fewer blades, while the “cats eyes” type is more distracting.
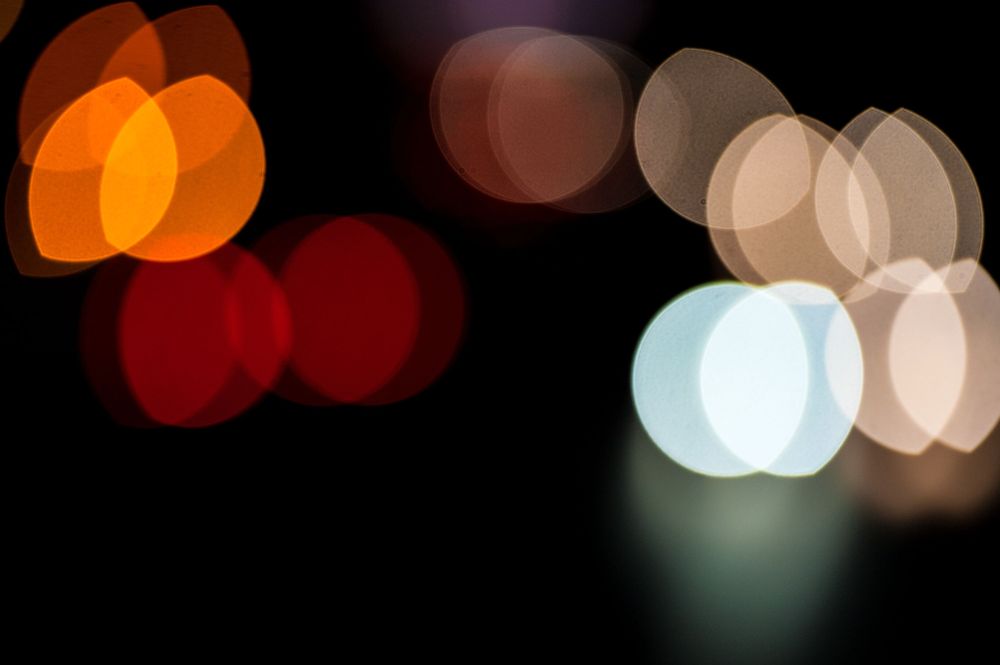
The other effect upon bokeh is the lens design and glass. The better the quality of the glass and the more controlled the image, the smoother, more regular, and buttery the bokeh should appear. Some might call it boring and, as a result, there are a whole host of vintage (and not so vintage) lenses that many photographers swear by, ranging from low-cost Helios examples through to bespoke modified vintage lenses from the likes of the Bokeh Factory. Sean Molin gives a great traverse to the escapades of a bokeh junkie that shows where an obsession can lead! Also, don’t miss out on Fstoppers’ Ultimate Guide. I shot the examples below using several different lenses on either a 16-megapixel Fuji X-M1 or a 12-megapixel Nikon D700. Any ideas on the lenses?
Starting in the top left, this was shot with the APS-C Fuji using a 1980s era Nikon E Series 50 mm lens, giving it an effective focal length of 75 mm. This is my favorite lens for portraits on the Fuji, as it is small and produces a smooth bokeh that looks amazing with the irregular highlights in the backdrop. The Fuji is again in action in the top right, this time with a Viltrox AF 56mm f/1.4, which is delightfully smooth in a modern, controlled kind of way. The central image was shot on the Nikon D700 with a Nikkor f/2.8 70-200mm at 70mm (for those interested, this was the final stage of the 2016 Tour of Britain in London), and it also has very well-,controlled defocus, along with pleasant highlights, perhaps the reason it remains a stalwart for sports and wedding photographers. The lower left image was again on the D700, this time with the Nikkor f/1.8 85mm stopped down slightly to f/2.8 and highlighting the rather pleasing nonagon bokeh balls. The final image, also on the D700, was shot on the Nikkor Micro AF-S VR 105mm f/2.8G at f/9, which just goes to show what happens when you start shooting with macro lenses.
When it comes to lenses, do you have a favorite? How important is bokeh to you in lens choice? Or are we over-obsessive about defocused backgrounds? Ultimately, there is no “good” or “bad” bokeh. Rather, it’s simply a defocused or blurry part of your image (excluding motion blur). However, it is important to realize that it’s a characteristic of a specific lens, and it’s whether you like the way it is rendered. And in the same way you become familiar with how a lens performs across a range of situations, be aware that bokeh will render differently across a range of different lighting scenarios. In short, be familiar with your lenses.
Comparing Systems
While we may become overly concerned about the subjective style of bokeh for a particular lens, the amount of defocus is controlled by a combination of our camera system and distance to the subject. With lens effective focal length and aperture strongly influencing bokeh, sensor size becomes critical in comparing different camera systems. It’s one of the reasons that photographers are often drawn to medium format digital or large format film cameras, yet the economies of scale of full frame mean that the systems significantly cheaper. So, how do you compare different systems before using them? Find out in Part Two.