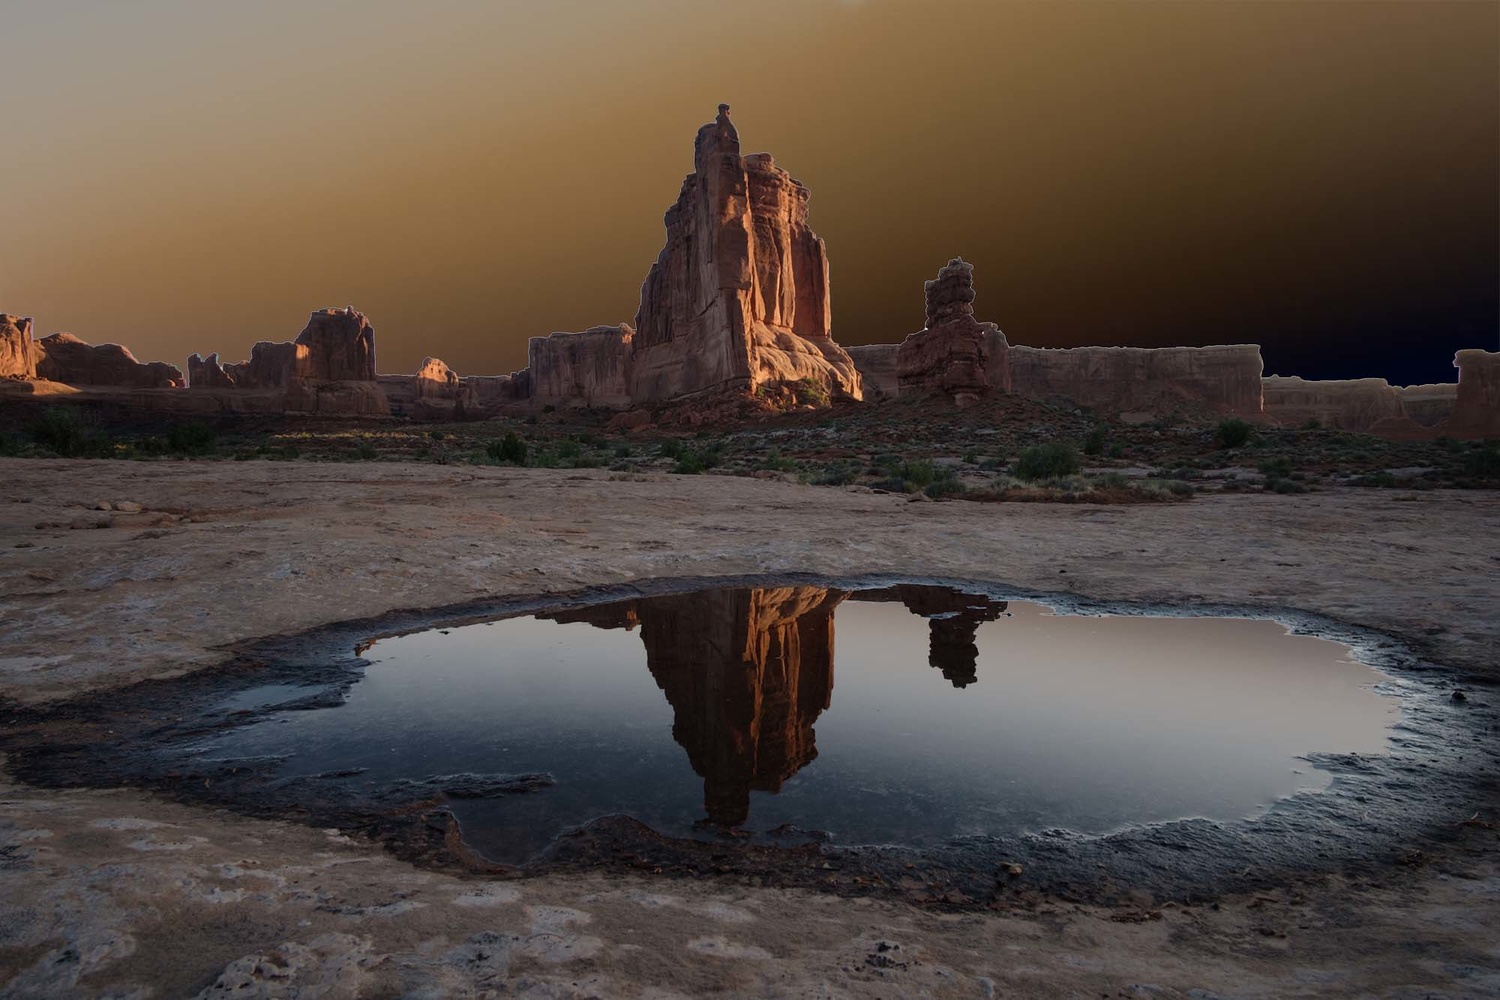
Often caused by polarizer filters, lens vignetting, or side-lit scenes, gradients can be a pain to handle in post-processing. Follow these simple steps in Photoshop to gain control over gradients commonly found in blue sky images.
Before we begin, it’s important to note that not all gradients are bad, as they can often enhance an otherwise dull image. The human eye enjoys the smooth tonal transitions that gradients provide. Some gradients can really detract from an image, however. A classic example is using a polarizer when facing 90 degrees from the direction of the sun (north or south, roughly speaking). Ultra-wide lenses with heavy vignetting can also cause unwanted gradients in your sky. Regardless of the cause, these simple steps in Photoshop will help you gain control of unwanted gradients.
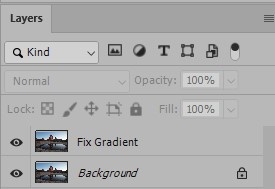
Step 1: Copy the Background Layer
With your background layer selected, use Ctrl+C and Ctrl+V (Cmd+C and Cmd+V for Mac users) to make a copy and rename the layer “Fix Gradient”.
Step 2: Select the Sky
Using the Sky Selection command which is built into Photoshop (Select > Sky). You should see “marching ants” appear around the border of the sky. Add the sky selection as a layer mask using the “Add Layer Mask” button at the bottom of the Layers panel. Sky Selection is used here only for convenience, and can often result in haloing at the horizon line or bleeding into the foreground. For a more precise selection, use the Quick Selection tool and refine the horizon using Select and Mask’s “Refine Edge” brush. This is especially important if you want to print your images large. Taking the time to make precise edge selections is something many Photoshop users generally shy away from, I believe to the detriment of the final image. Get in the habit of making great selections
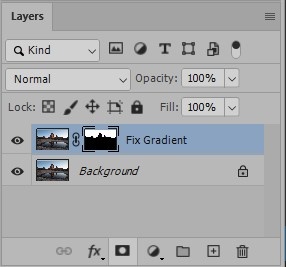
Step 3: Invert the Sky
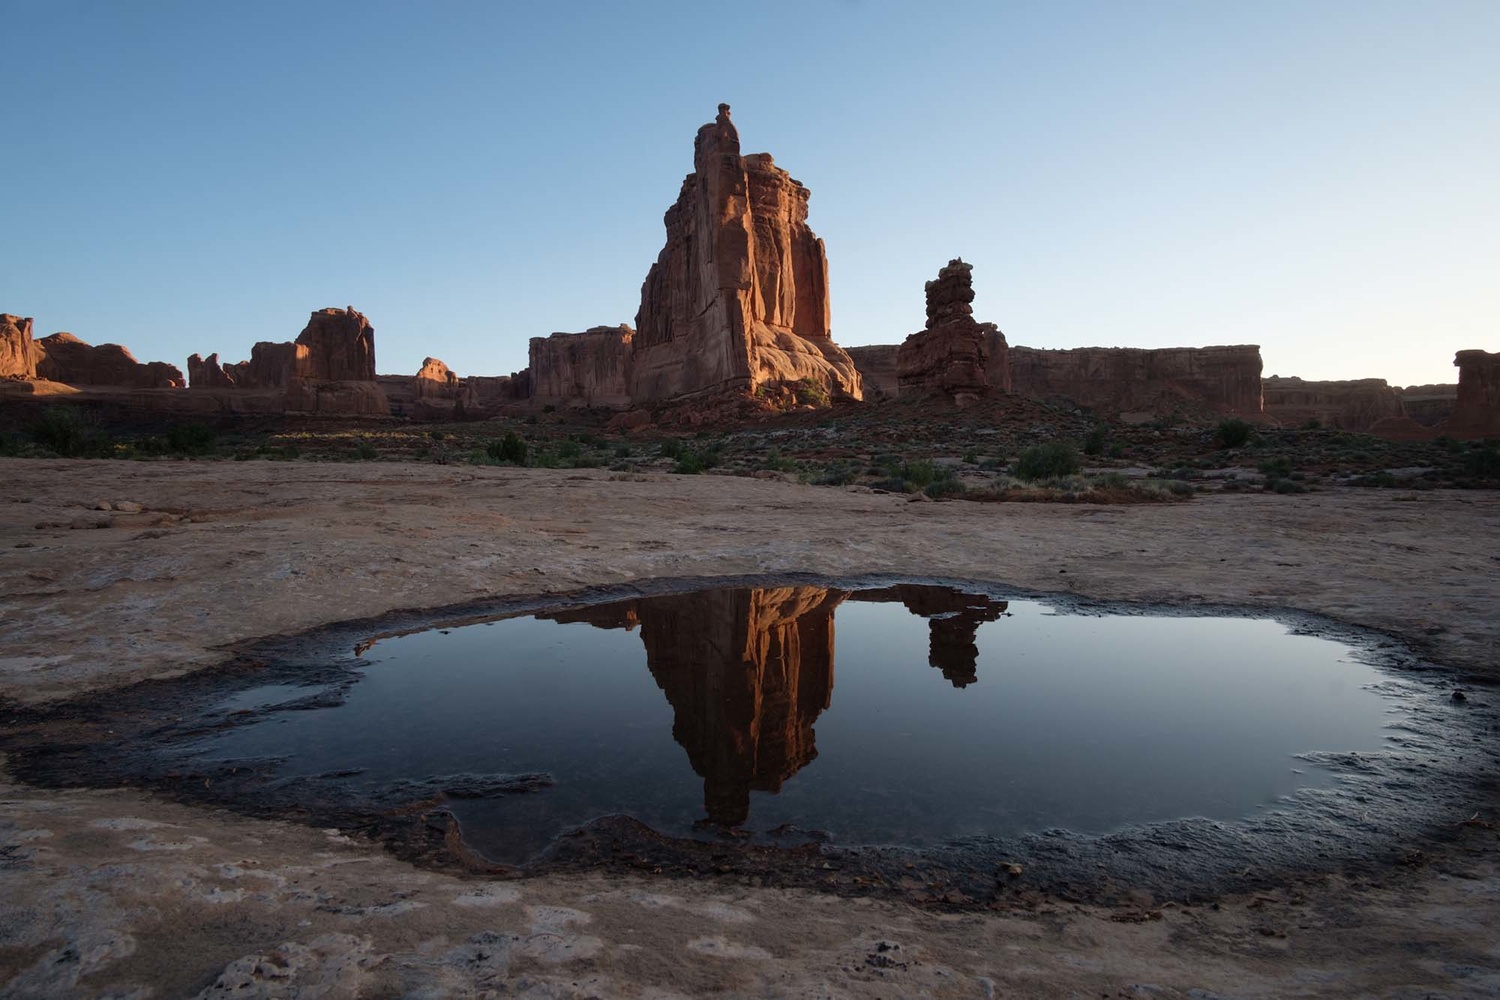
Click on the image thumbnail for the “Fix Gradient” layer to make the pixel layer active and use Ctrl-I (Cmd+I for Mac users) to invert the image. It should look quite strange. In my example image, I also need to select and invert the reflection in the puddle.
Step 4: Change Blend Mode & Opacity
Change the blend mode of the sky layer to Luminosity. This will ignore the inverted colors and only show the inverted luminosity of the gradient. Finally, adjust the opacity of the layer to increase or reduce the effect. Note that increasing the opacity above 50% will effectively begin to reverse the gradient, which is not what we want here. At 50%, all of the pixels in the sky will be the same brightness, canceling out the gradient entirely. I generally prefer to keep some of the gradient to retain a natural look, and for the final image below I used an opacity of 30%.
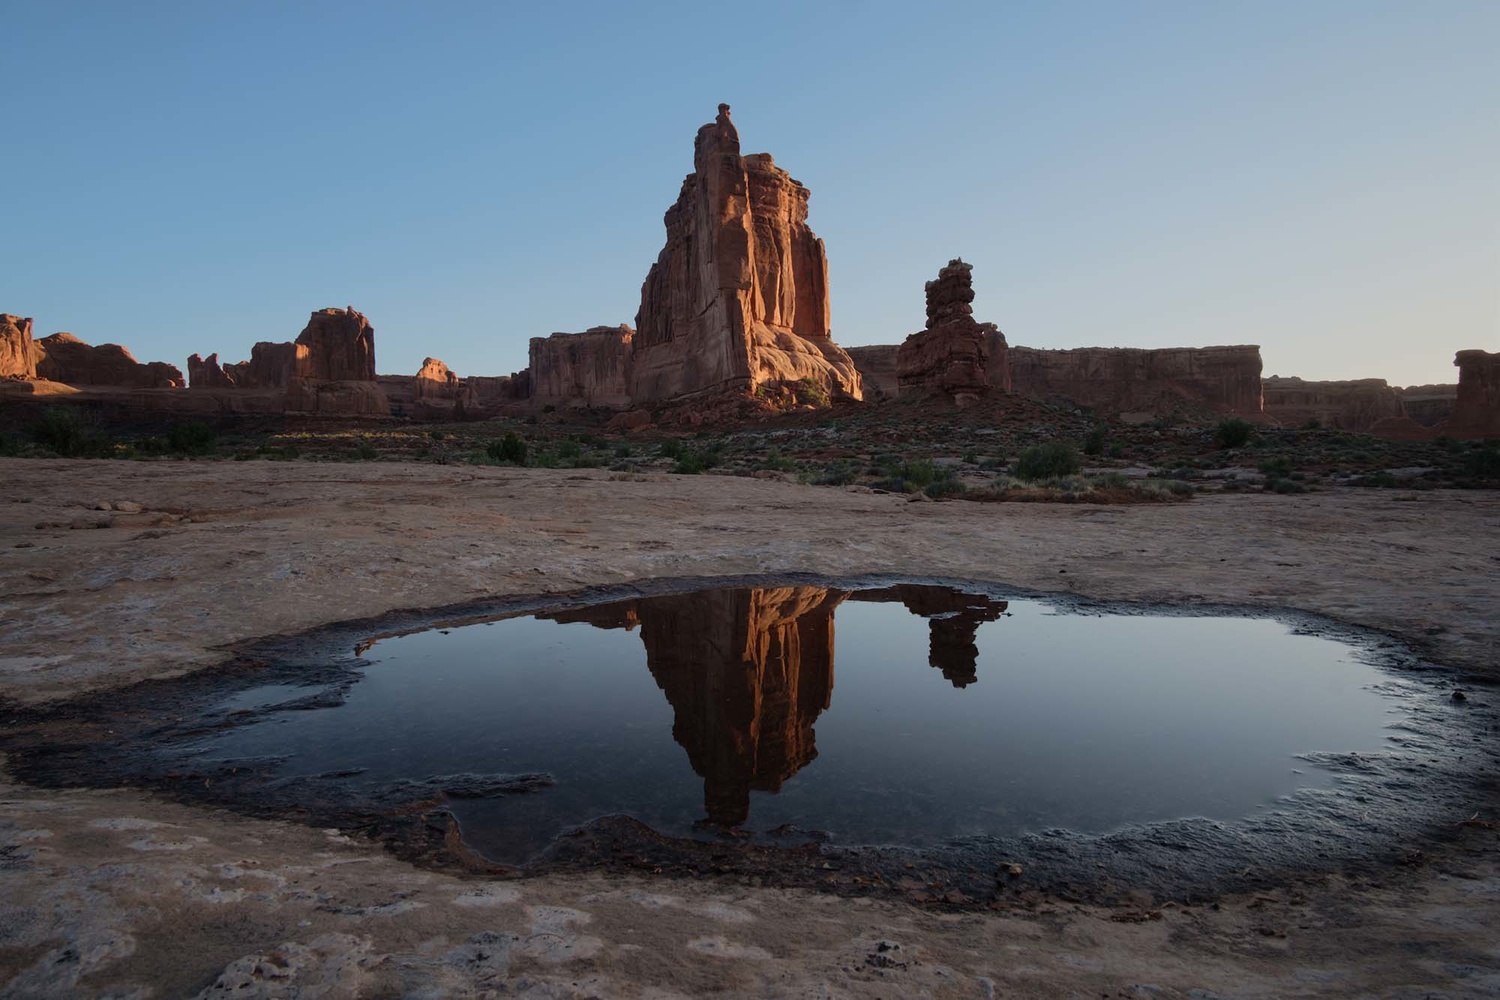
The gradient in this image wasn’t terrible to start with, and similar results may have been achieved using simple slider adjustments in Lightroom. However, images with trickier gradients caused by polarizing filters or vignetting can be saved using this method. It is a nice tool to have in your back pocket should the need arise.