It’s not too often you associate a supertelephoto lens with variable neutral density filters, but I stuck a NiSi 5-9 stop variable ND filter on the end of my Canon RF 800mm lens and got some unique, creative results I loved.
When you think of an 800mm lens, you tend to associate it with high-action sports shooting, wildlife photography out in the jungle, or perhaps bird photography, where that extra reach really lets you get close to your subject without having to get too physically close yourself. What is not commonly conjured up in the realms of the imagination is pairing a supertelephoto lens like the Canon RF800mm with a variable neutral density filter, particularly one that reduces exposure by up to nine stops. However, that’s exactly what I did — deliberately — and the results were exactly what I’d hoped for.
The NiSi and the Canon
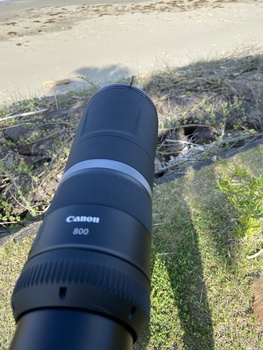
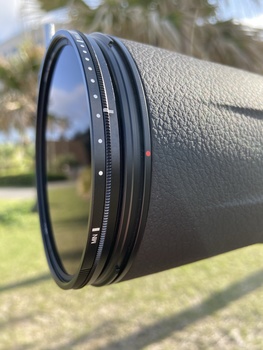
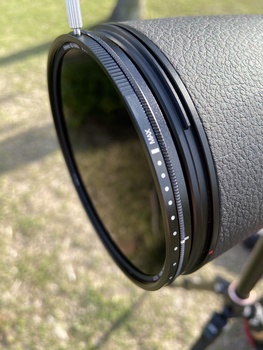
My combination was the NiSi 95mm Variable Neutral Density 1.5 to 2.7 Filter (5 to 9-Stop) and the Canon RF 800mm f/11 IS STM lens. The NiSi variable ND filter comes in two options: a 1.5-5 stop version or the 5-9 stop version that I used. Both run at about $200. The numbers refer to how many stops of light the filters reduce exposure by. Thus, in the case of my NiSi 5-9 stop variable ND filter, it can reduce exposure by up to nine stops when you attach it to the front of your lens. Each filter simply screws onto the front of your lens and has a little metal handle you can use to rotate to the min or max setting, depending on what effect you’re trying to achieve. In the image below, you can see the little metal handle sticking up. It’s a handy little feature, but the drawback is that it prevents you from using any kind of lens hood.
Once you’ve attached the filter to the front of your lens, you simply rotate it towards the min or max settings marked by small, white circles. Min refers to five stops of light and max refers to nine stops of light. That simply means that as you get closer to the max setting, the filter gets darker and your exposure gets darker, meaning you need to keep the shutter open for a longer period of time. You could potentially adjust the aperture (f-stop) on your lens, but the Canon RF 800mm lens is a prime lens with a fixed f/11 aperture, so in my case, adjusting the aperture was not an option.
Why Use a Variable ND Filter on a Supertelephoto Lens?
Right about now, you’re possibly scratching your head wondering why I would want to add such a filter onto the end of a supertelephoto lens in order to deliberately reduce my exposure by up to nine stops and force myself into a situation where I had to slow the shutter speed down. In most circumstances, such as action sports or wildlife photography, a high shutter speed is of paramount importance, but by using the NiSi filter, I pretty much eliminated the possibility of using a high shutter speed like 1/1000 of a second. Why would I do such a thing?
Personally, I love abstract photography and finding creative ways to present a kind of subverted version of scenes. In surfing, the standard modus operandi is to show scenes where the surfers are as clean and crisp and sharp as is humanly possible. I like doing different things, such as slowing the shutter speed down so that you get interesting patterns of whitewater cascading off the sides of surfboards as the surfers turn or interesting effects on bodies that are midway through critical turns on a wave. The only problem is that if you try to slow the shutter speed of your camera down to, say, 1/10 of a second in the middle of the day, your entire image will almost always be blown out and completely white. Take a look at the images below to see what I mean.
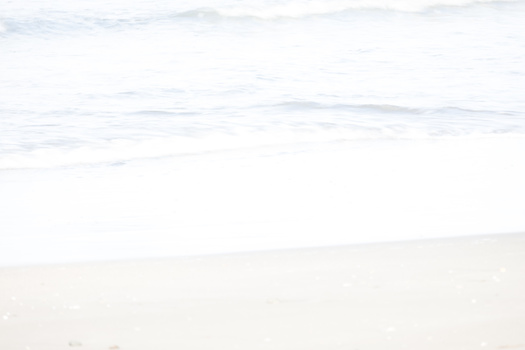

Both of these images were taken using the same settings: 1/10 s, f/11, 100 ISO. As you can see, they are both blown out, and most of the details are essentially unrecoverable. Not an ideal situation. The ISO is set to as low as it can go, so the only option here would be to increase the shutter speed. That’s not what I wanted because the effect I was looking for requires a shutter speed of about 1/10 s to 1/20 s. Any faster and you don’t get the effects on the water that I was after. Therefore, the best option for me here was to put a variable ND filter on the end of my lens and reduce the exposure that way.
I chose the 5-9 stop filter rather than the 1.5-5 stop filter because I like to do this kind of photography when the sun is high in the sky. If I shoot early morning or late evening when the sun is much lower, I can often get the effects I’m looking for without using any kind of filter at all. Therefore, as I only really do this kind of slow shutter photography in the middle hours of the day, I wanted something that could reduce the light coming into the camera as much as possible. Once you’ve got the filter attached to the end of the lens, you can just rotate it and look through the viewfinder to see how dark it’s making your scene, then adjust accordingly until you’re happy with the exposure you’re getting.
What Kind of Results Does the NiSi Filter Give You?
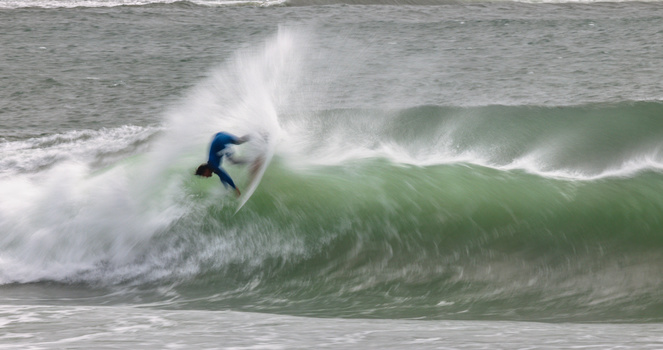
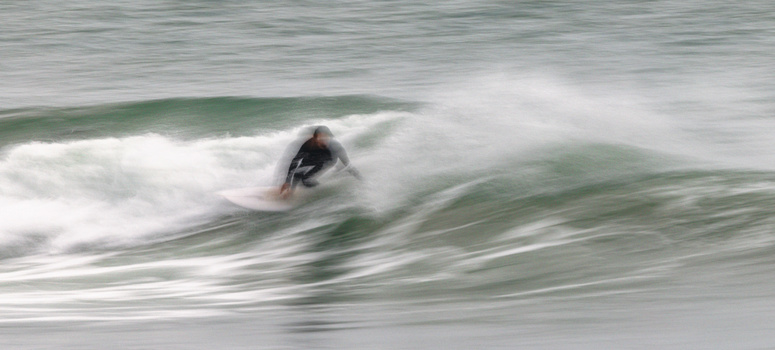
Once you’re all set up and you’ve got your settings dialed in, it’s just a matter of pointing and shooting. With this type of photography, the interest really comes from the unusual abstract patterns created on the surface of the water close to the surfer and by the movement of the actual surfers. Therefore, it’s really best to get in as tightly as you possibly can to your subject. When I’m shooting standard types of surf shots for publications, I really like to pull back from the surfer and show the context of the scene from a much wider perspective (entirely in sharp focus), but for this slow shutter type of photography using filters, you really want to get in as tightly as you can to the surfer, the surfboard, and the waves. Here are some example images from this particular day.
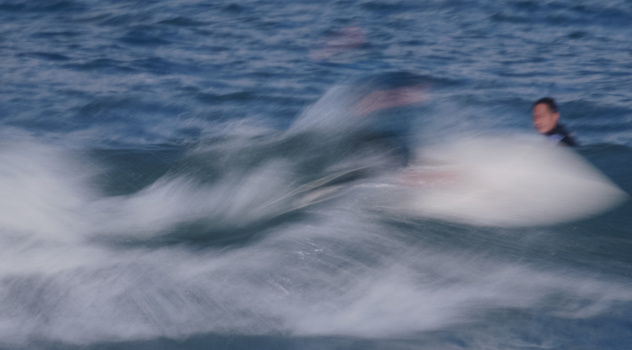
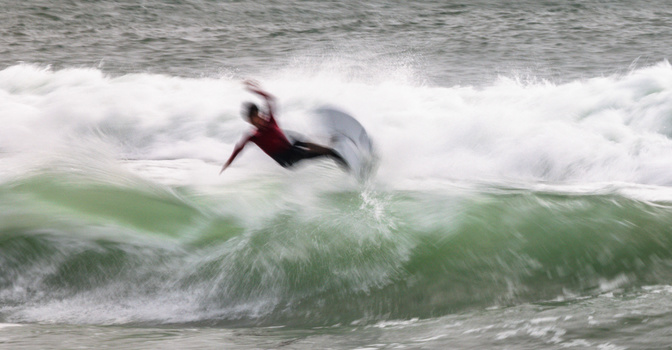
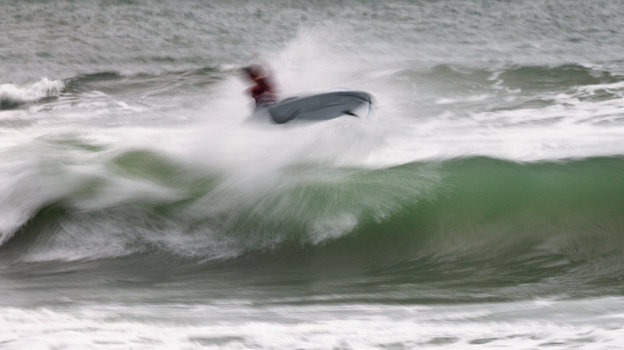
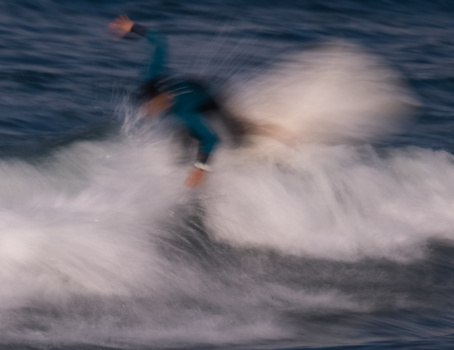
Of course, this type of photography isn’t for everyone, and when I’m doing work for magazines or online publications, I don’t submit these types of images. Sharp and clean are best. But in my own time, I really love playing with concepts and looking for unique ways of presenting things. And funnily enough, these types of images have been some of my most popular when I show them to the surfers. An acquired taste, most certainly, but one that has garnered surprisingly pleasing results.
Summing Up
When you slow the shutter like this with objects such as surfers, jetskis, boats, or waterskiers on water, you really want to get as close to your subject as possible. Ideally, you want to fill the frame with them because they beautifully accentuate the abstract patterns of the water created by the turbulence and the wake of the watercraft. It’s not for everyone, but if you’re looking for something creative and a bit different, then this might be an option for you.
Have you ever tried slowing the shutter down with variable ND filters and supertelephoto lenses? I’d love to hear your thoughts and experiences in the comments below.